
Pattern: this is a variation on Gertie's Portrait Blouse (also found in Gertie's New Book for Better Sewing) which I learnt in a Creativebug workshop.
Size: size 4 with alterations.
Alterations: a 2,5cm FBA, 7,5cm of added length.
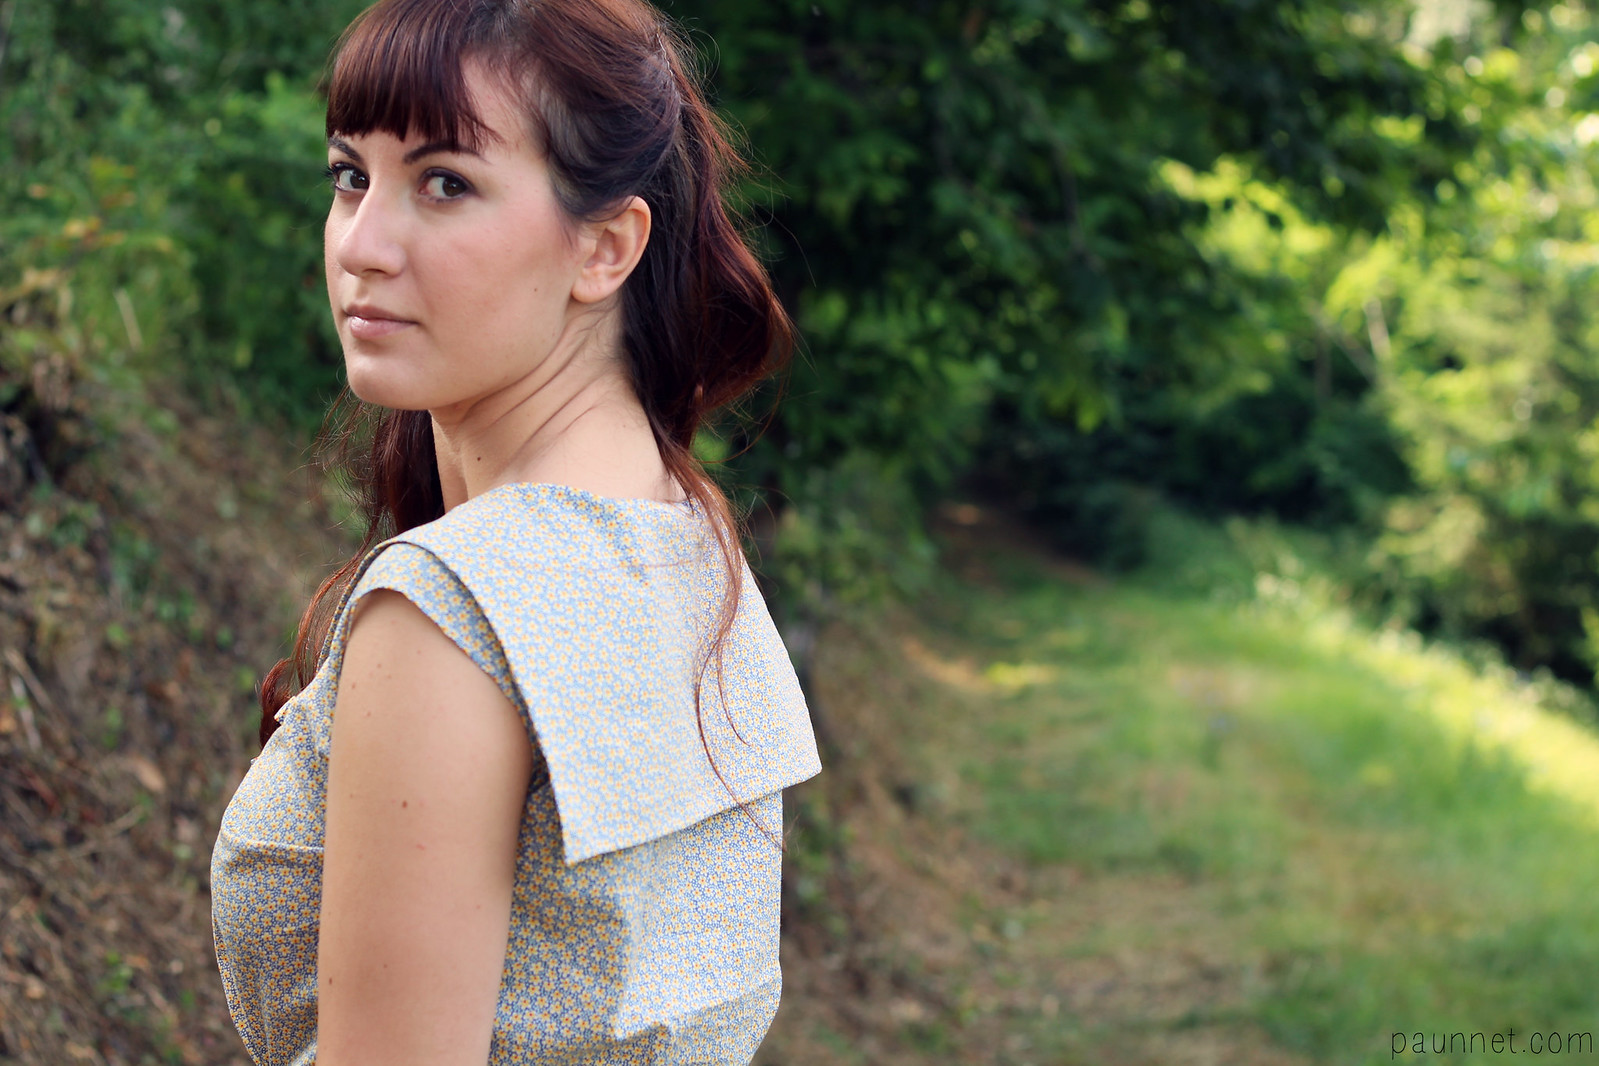
Fabric: I used a lovely lightweight cotton I found at my local market. It was perfect for this project! I suspect it might even be Liberty, but I'm just guessing.
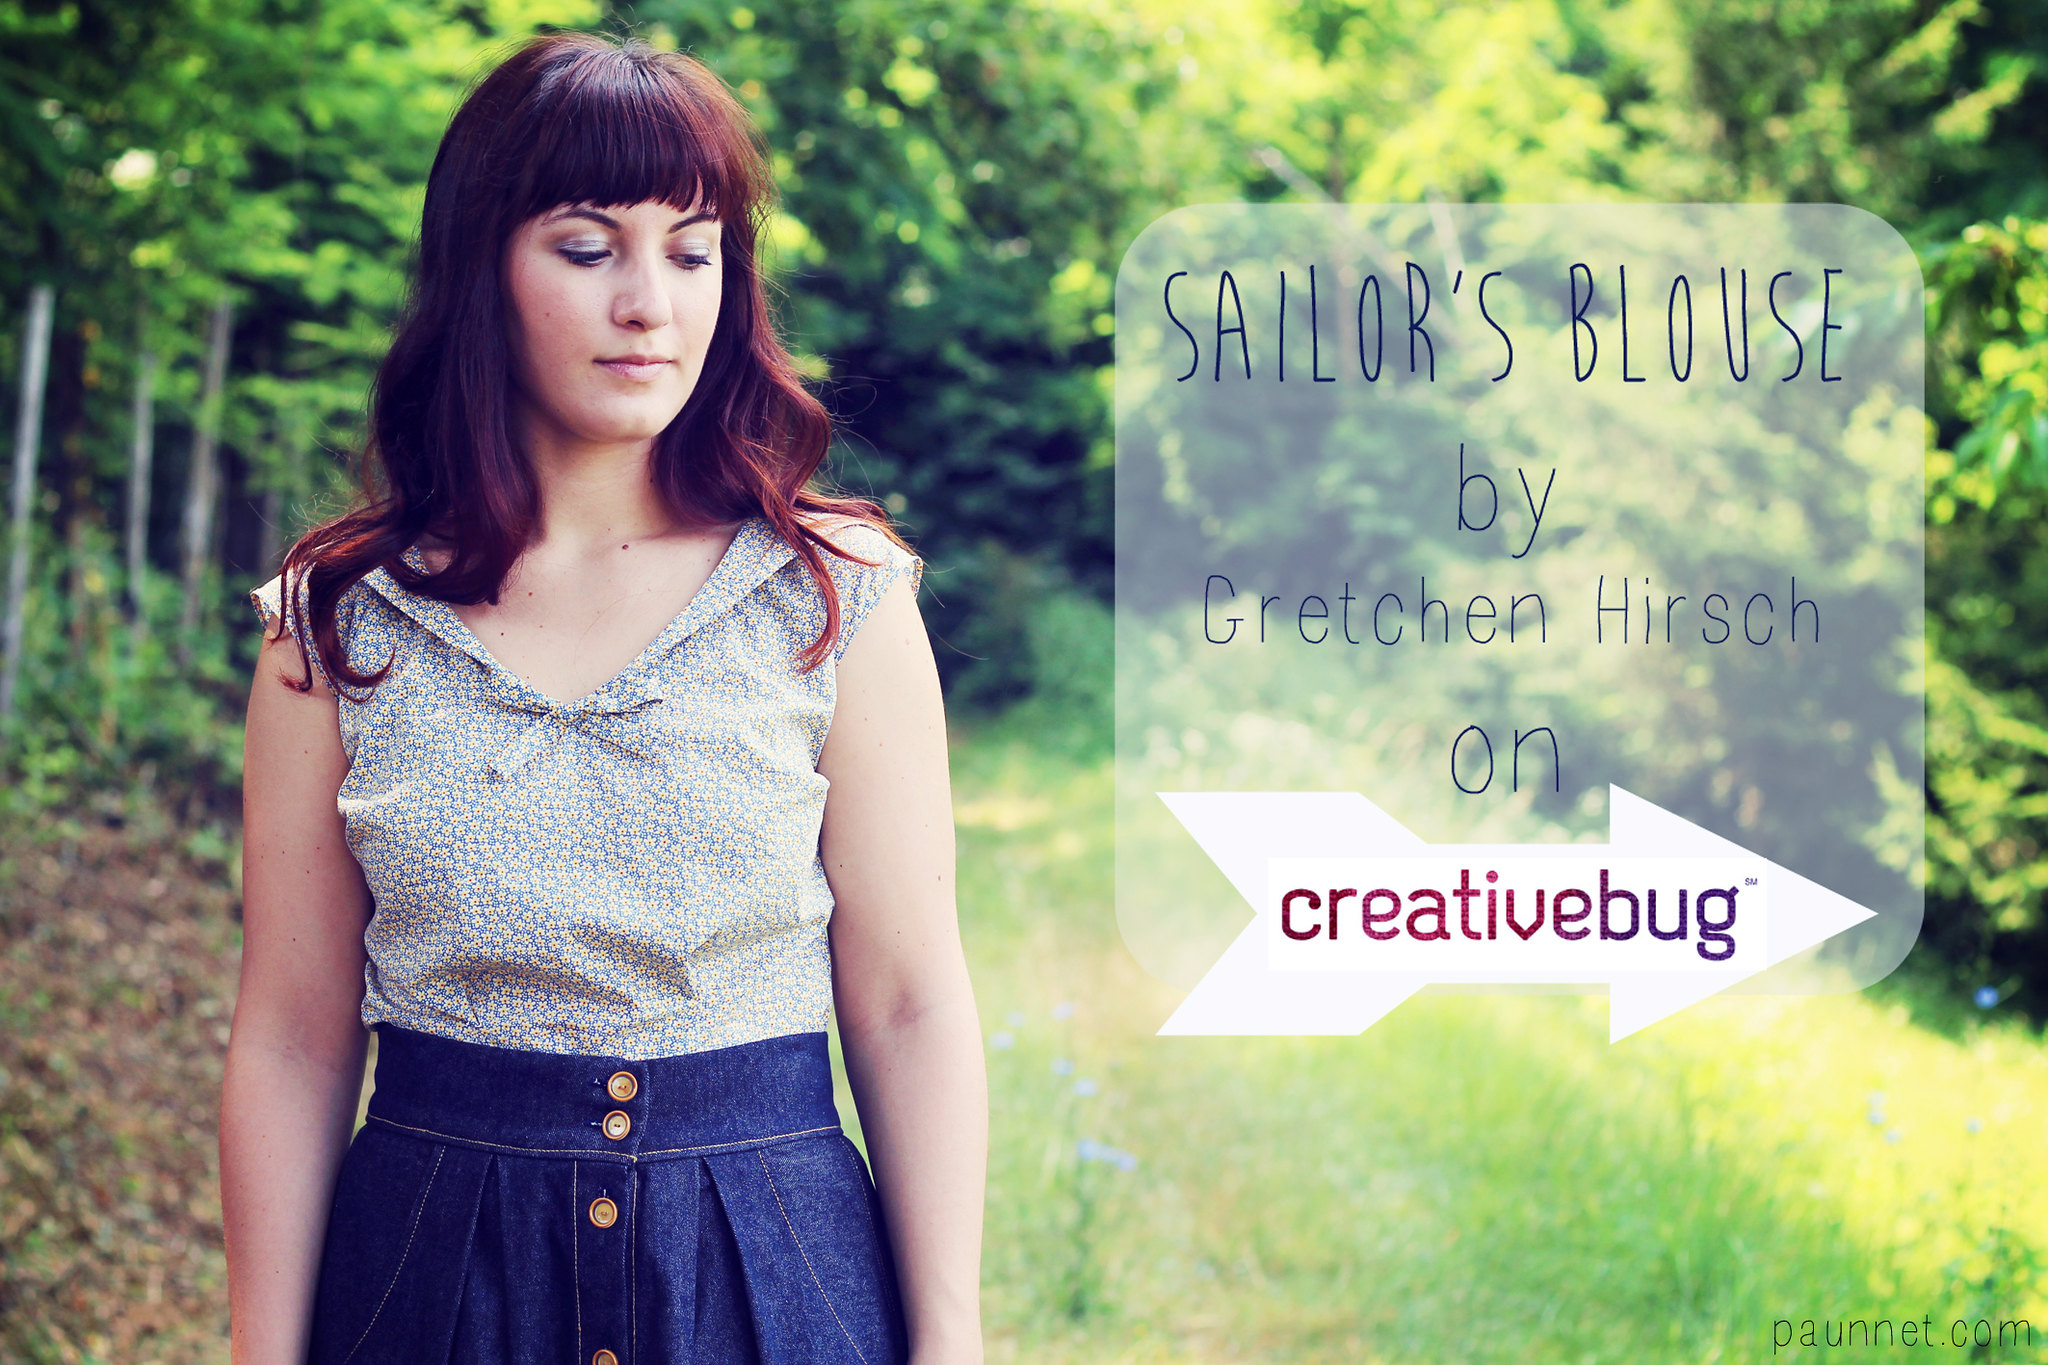
What I liked: I love, love, love this blouse! I have wanted a sailor collar blouse forever and this is just perfect for me. I found out about Gertie's courses at Creativebug a while ago, and I took advantage of an offer in May to subscribe and take as many workshops as I could. The Sailor's Collar blouse was the one that I enjoyed the most, so I thought to share my thoughts on it.
This isn't the first class taught by Gertie that I followed: I took her Bombshell dress class and her Starlet Suit class (apparently, not available anymore?) on Craftsy and I loved them both to death, so I knew this wasn't going to disappoint me. Boy, I was right.
I will post a more detailed review of the workshop next week, though, so this post is not too long.
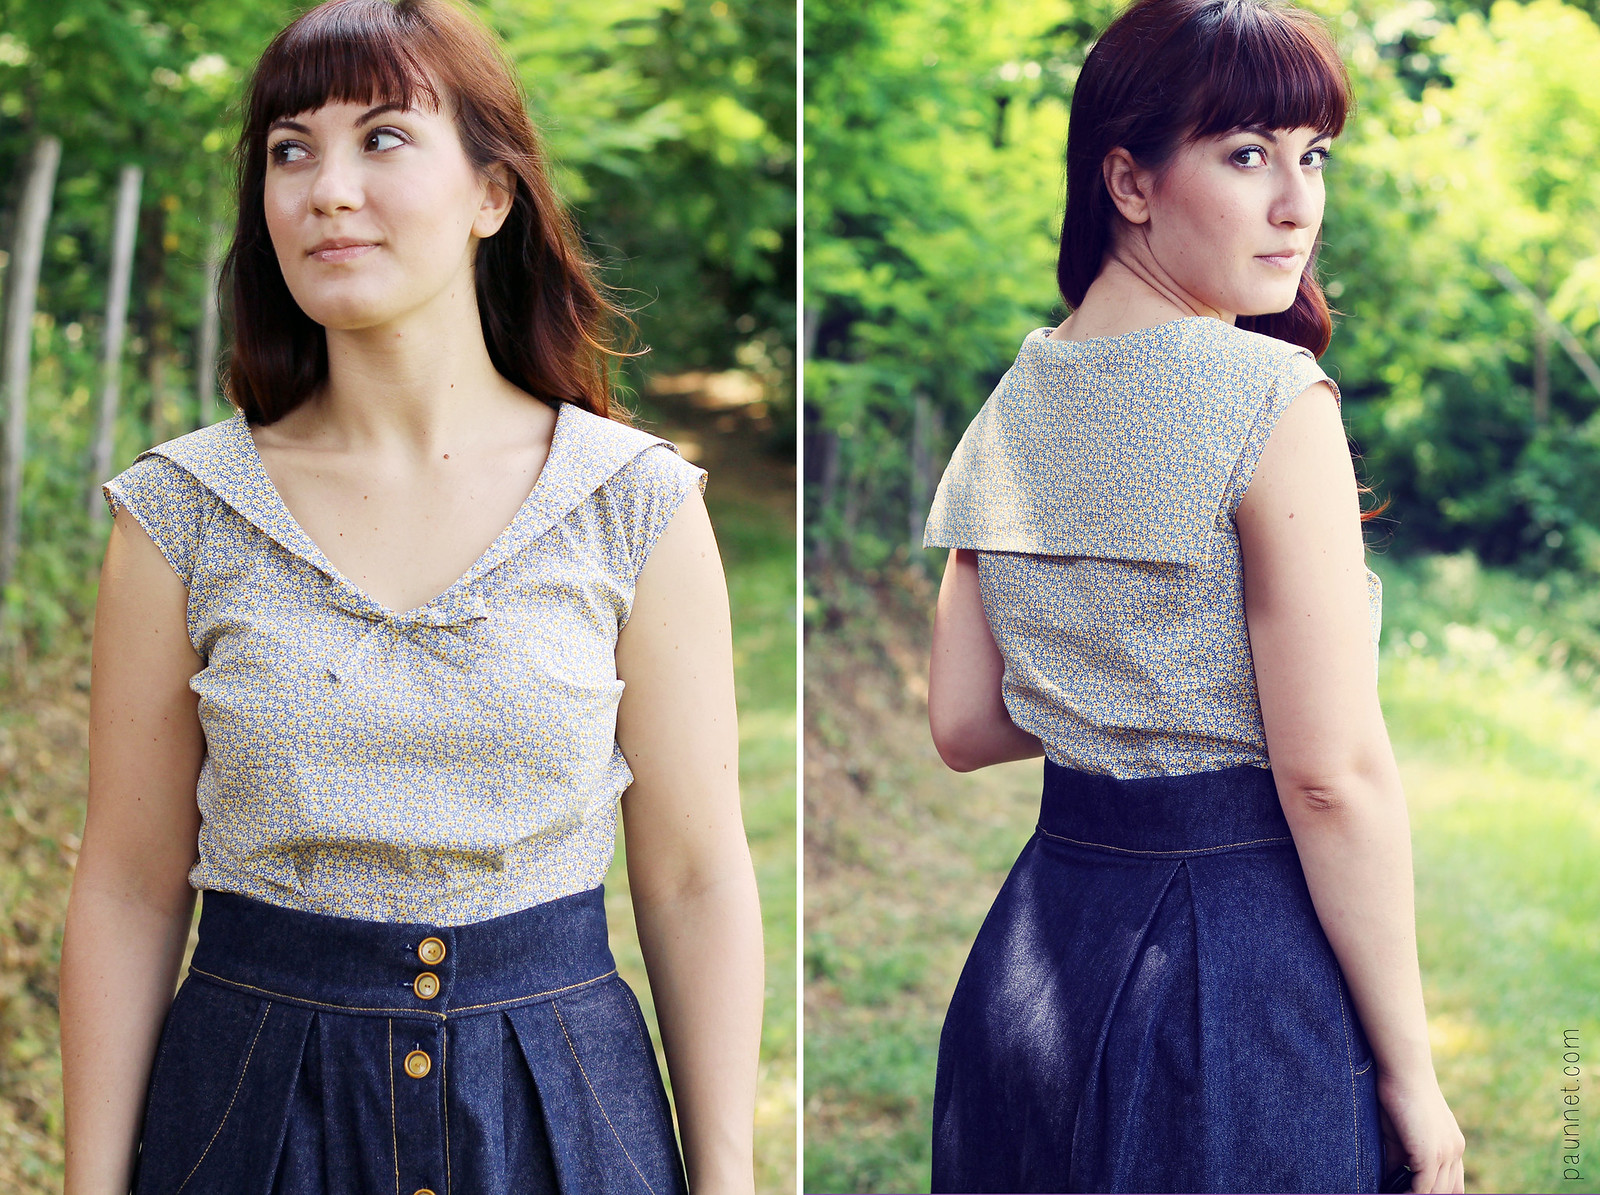
I will mention the construction of this blouse more in detail in that post, but if you're familiar with the Portrait blouse pattern, this is a simple variation to the neckline with the addition of a collar. The base pattern is a fairly simple one which has already been reviewed many times on the blogosphere, but if you have any questions, please feel free to ask.
I will post a more detailed review of the workshop next week, though, so this post is not too long.
I will mention the construction of this blouse more in detail in that post, but if you're familiar with the Portrait blouse pattern, this is a simple variation to the neckline with the addition of a collar. The base pattern is a fairly simple one which has already been reviewed many times on the blogosphere, but if you have any questions, please feel free to ask.

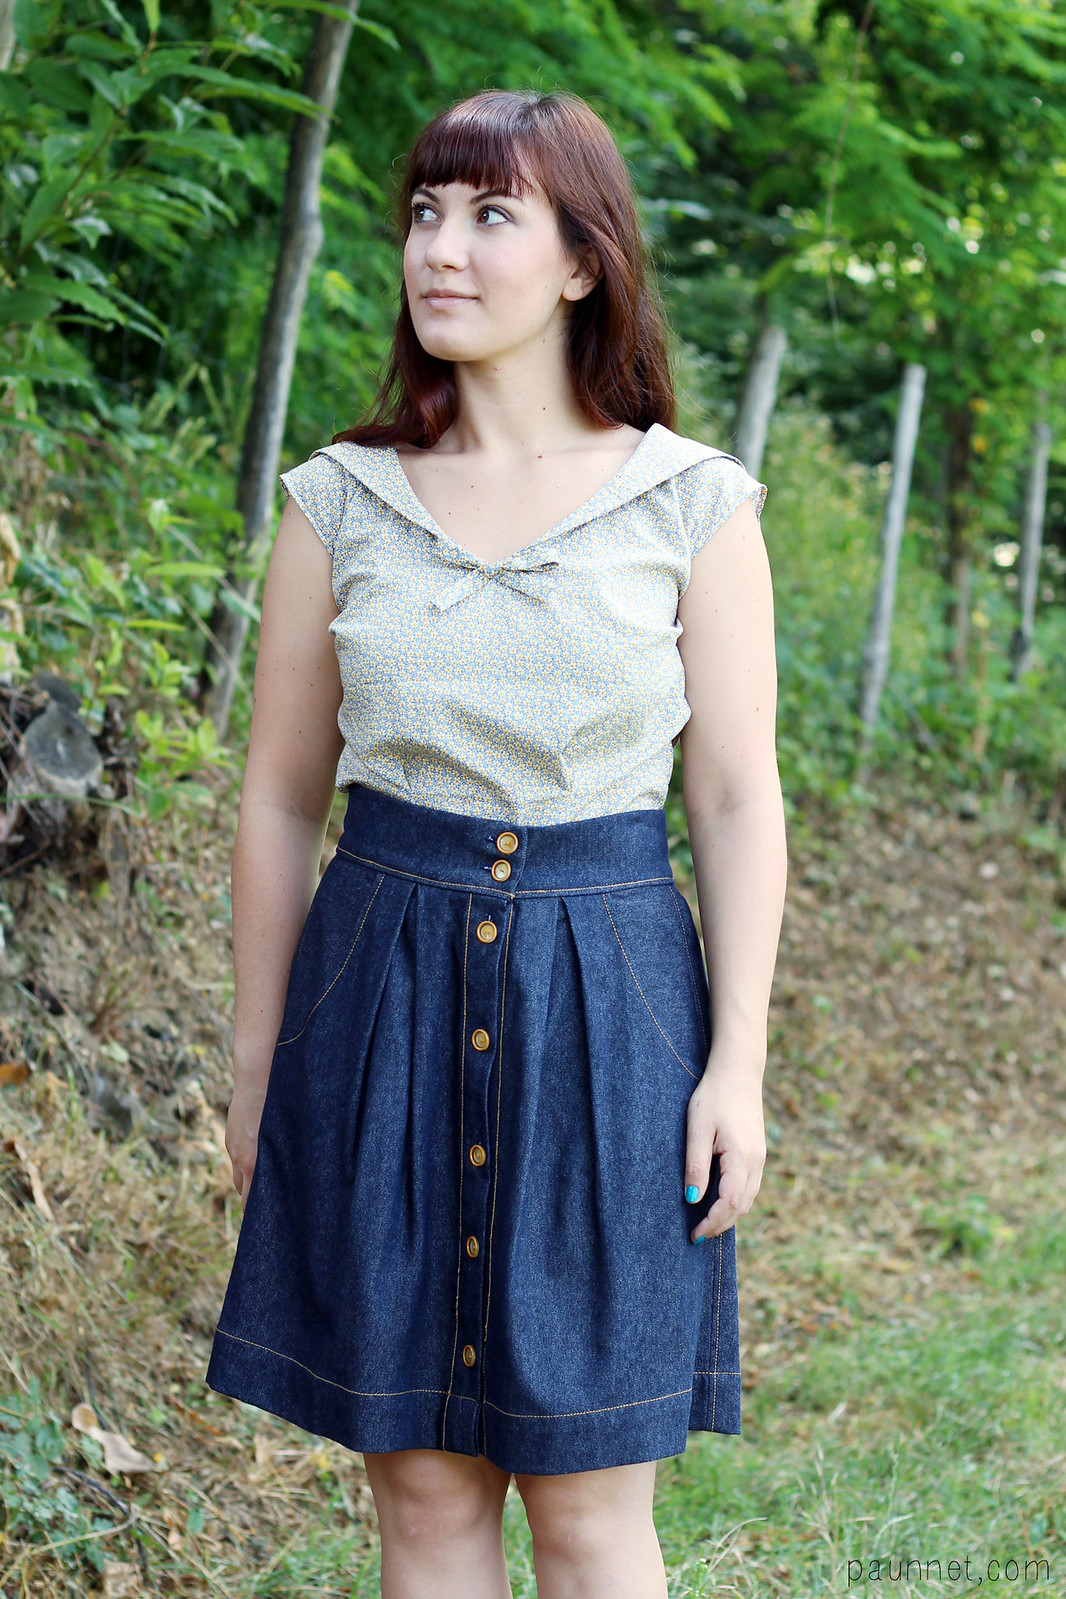
I've already worn this blouse quite a few times and I definitely prefer it tucked in a skirt (worn here with my denim Kelly skirt), but it also works nicely with pants. It's definitely a versatile piece.
 As usual, I wanted to include a couple more detailed shots of the garment. Here you can see some of the features of the blouse: it has a lapped side zipper (which I was afraid could be uncomfortable but it's really not), waist tucks, and hand-sewn bias tape to finish the neckline (I didn't enjoy hand-sewing the bias tape at all).
What I didn't like: The only thing I don't like about this project is that I could have worked a bit harder on the fit. You can see there's some excess fabric between the armholes and the bust, but after sewing three muslins I decided I would make this work.
Truth to be told, I fitted the muslin wearing another bra, which is more of a push-up than the one I was wearing in these photos, and it looks much better. Undergarments really can make such a huge difference!
Truth to be told, I fitted the muslin wearing another bra, which is more of a push-up than the one I was wearing in these photos, and it looks much better. Undergarments really can make such a huge difference!

But anyway, I'm very pleased with this one, as you might have guessed. Yay for a new friend in my wardrobe!
I'm currently enjoying some time at the seaside, so have a great weekend and see you next week!
I'm currently enjoying some time at the seaside, so have a great weekend and see you next week!
*Disclaimer: This post contains affiliate links. This means that if you purchase this workshop or subscribe to Creativebug I will earn a small commission (but you won't spend any extra).*
I love your blouse! I had the fit stuff, too. I just got tired of fitting or something. But your sailor blouse is super cute!
ReplyDeleteoh yesssss Liberty design called Speckle from SS13 :) looks great!!!
ReplyDeleteThis blouse is so cute Anna...it's been on my radar for a while as I'm a sucker for sailor collars! I love how you've shown it tucked in and left out, it gives us a good idea of how versatile it is!
ReplyDeleteThis just looks so lovely. I'm popping straight over to buy ;)
ReplyDeleteI'm about to start sewing my first Portrait blouse next week for my sewing group's challenge. I'm so excited to try it out!
ReplyDeleteThis is such an adorable blouse. The collar is really pretty.
ReplyDeleteSo pretty and classic. Love it with that skirt :-)
ReplyDeleteHey that's a perfect sailor look!! I love the one paired with the Kelly skirt! Was on the point to sign up for the sailor shirt class too when I saw it on Gertie's blog, but I have no time at the moment but I will soon or later.
ReplyDeleteI love it! And it looks just -right- on you, like you were born to be a land sailor!
ReplyDeleteThe neckline and back panel on this are just gorgeous - I love that you've done it in one fabric which to my mind prevents it from being a bit kitsch - this is class all the way. And the neckline really suits you!
ReplyDeleteGreat blouse! And what a lucky fabric find.. I should really try some of the other patterns in her book, so far I've been only making wiggle dresses from it.. Looking forward to the construction post!
ReplyDeleteThis is such a cute variation- who doesn't love a sailor collar?
ReplyDeleteVery cute blouse :) And regarding the undergarments - I am now write down on the pattern which bra I was wearing while fitting it :) Saves a ton of work!
ReplyDeleteLove the blouse, definitely inspired to make one of my own when I get out of this sewing hibernation I'm in. The fabric your chose is just perfect, I love that it's sweet and doesn't completely remind me if navy uniforms. Of course you're as beautiful as ever! That last picture is so sweet!
ReplyDeleteThis is a darling top! I've been eyeing this project but was afraid the sailor look would be too over the top. Your version has won me over!
ReplyDeleteThis is soooo adorable! I think it looks great with both the skirt and the pants. Good job!
ReplyDeleteYour blouse looks amazing! I especially like it with the Kelly skirt. Actually, I was just looking for a high-waisted skirt that goes with my blouses, so I am thinking about getting the Kelly pattern. Thank you for the inspiration :)
ReplyDeleteThis is so cute Anna. Definitely perfect for the seaside! Have a good time!!!
ReplyDeleteI love the fabric and it looks great on pants!
ReplyDeletethis is such a cute blouse! i love the wide neckline with the small collar and tiny bow. It looks great on you!
ReplyDeleteCute ;)
ReplyDeleteFit is such a finicky mistress. I just finished a dress that I fit with a particular bra, but my strap broke in an unrepairable way right before I finished the dress. So now I'm dealing with lackluster comparisons. :(
ReplyDeleteI have that book - I got it for Christmas last year but haven't made anything from it yet. I love your sailor variation :)
ReplyDeleteI ave this pattern with test fabric out on my work table to cut a do up a muslin tomorrow! The collar is so sweet. I agree about undergarments. After years of wearing vintage dresses with questionable fits it finally dawned on me.
ReplyDeleteThis is adorable on you! I feel your pain on the hand-sewing of the bias tape, I did Casey's mod of the Sewholic Pendrell to attach a scalloped collar and had to finish the neckline the same way. Ugh. The blouse really looks great and fits you so nicely. Love the fabric too!
ReplyDeleteSuper cute!
ReplyDeleteWow, I love it! So glad you enjoyed the class!
ReplyDeleteThank you, Gertie! It means a lot to me :)
ReplyDeleteI have the Starlet jacket course. It is still there - I think maybe you can't buy it any more, as since the teacher never answered any questions, there were so many complaints they stopped selling the class.... for those of us who have the class, it's student led. The jacket is cute, but apparently there are problems with the lining - according to reviews on pattern review, anyhow. I haven't gotten round to making it yet.
ReplyDelete