***UPDATE: from now on, you can read my posts in Italian by clicking on the Italian flag in the top right sidebar. Thanks Pauline for helping me with this!***

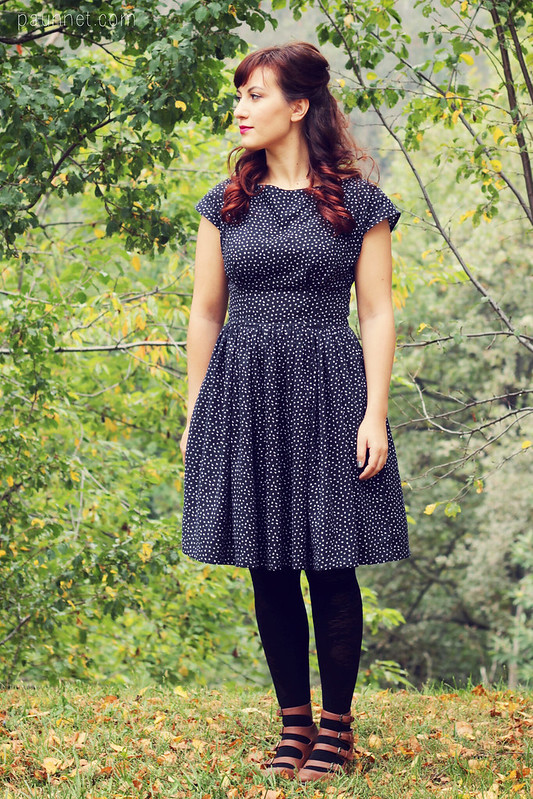
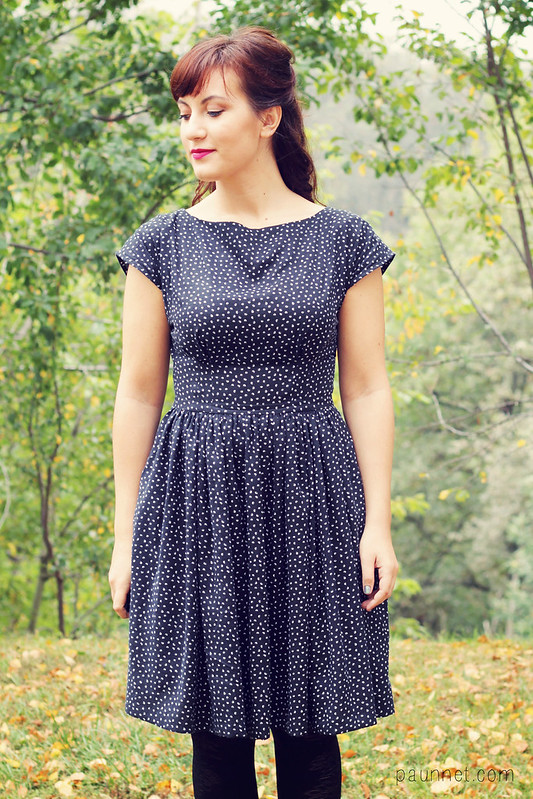
Pattern: Anna dress by By Hand London
Size: size US8 for shoulders and bust, graded to a size US10 at the waist.
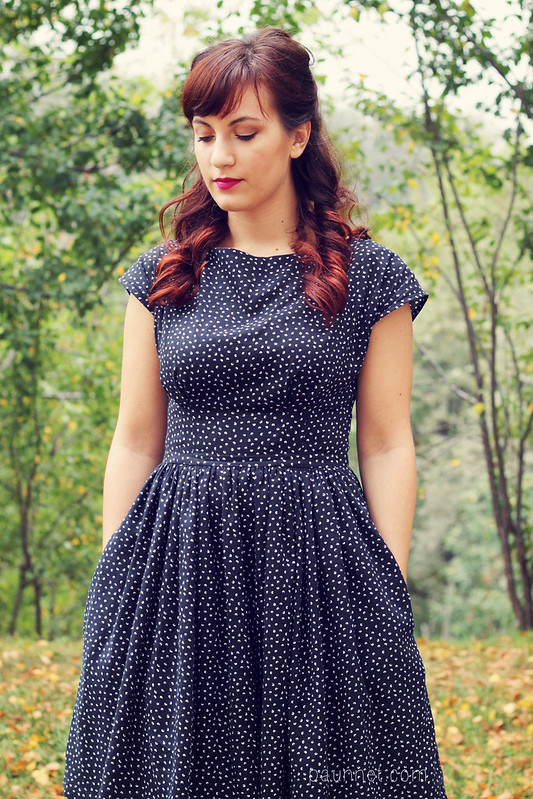
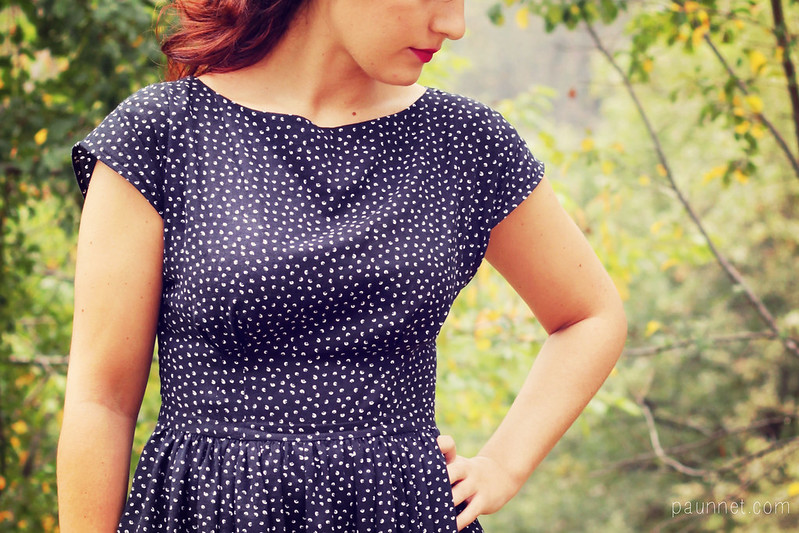
Alterations: I didn't use the 7-panel skirt of the pattern and opted for a very gathered skirt with in-seam pockets (I used the pattern piece from the Emery dress).
Fabric: A luxurious designer wool from my stash.
Back in November, when I made my first Anna dress, I told you that I fell in love with this pattern and that for sure there was going to be a second one. Well, here it is, probably one of my makes I'm most satisfied with!
This is my revenge on print placement after my Emery dress débacle, and I couldn't be happier with the result.
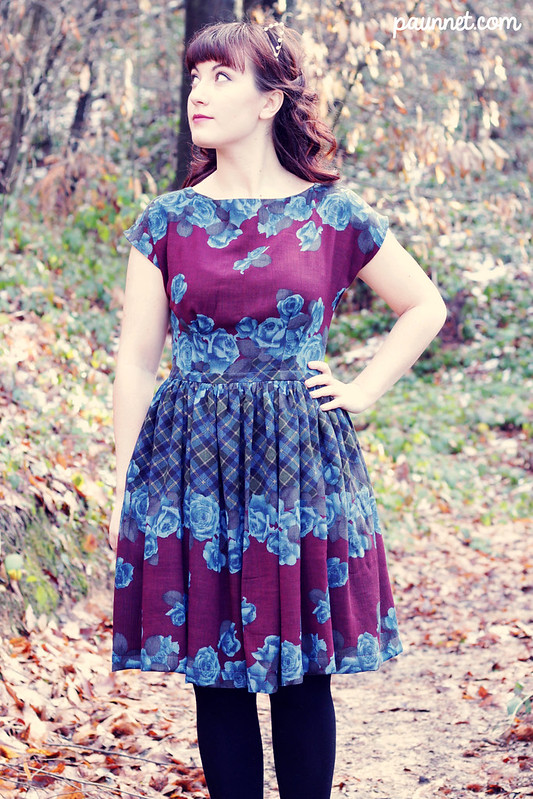
This gorgeous designer wool (although don't ask me what designer) was actually on of the first fabrics I've ever bought, which means it has been in my stash for about 8 years.
I remember buying it from this fantastic fabric store in my town (now closed, sadly) that carried almost exclusively designer fabrics. They used to always display remnants hanging on a clothes rack just outside the store, and even though I could hardly sew a straight line, I would always stop and look at them all. I guess fabric addiction is something I was born with XD
I remember buying it from this fantastic fabric store in my town (now closed, sadly) that carried almost exclusively designer fabrics. They used to always display remnants hanging on a clothes rack just outside the store, and even though I could hardly sew a straight line, I would always stop and look at them all. I guess fabric addiction is something I was born with XD
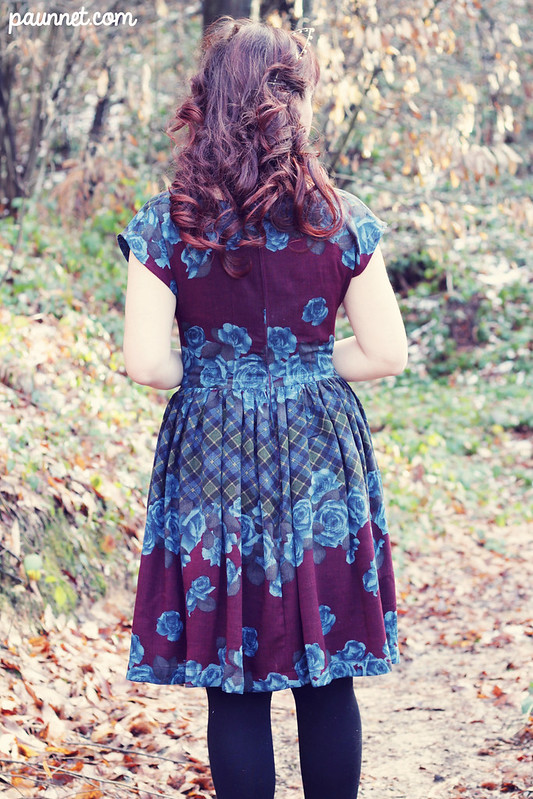
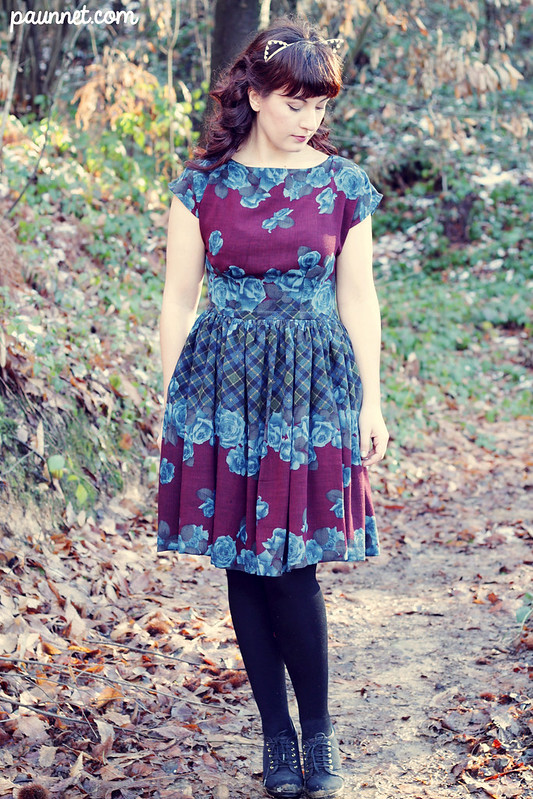
Anyways, this repeating print always intimidated me and I'm glad I waited all this time to use it, because it was so worth it!
Once I decided out I wanted to use it for an Anna dress, I figured I definitely wanted the roses to frame the neckline and have the plaid section in the middle of the dress. Once I placed the pattern pieces of the bodice on the fabric, it was quite easy to figure out the rest.
Just like last time, I went for a gathered skirt; this time it's even fuller, I used two panels in the whole width of the fabric. It's not the most flattering solution for my already full hips, but this fabric has such a lovely drape that makes the skirt so dreamy!
I used bias tape on the inside of the waist seam to eliminate some bulk, though, and I took pictures, yay! A tutorial is coming later on this week :D
I used bias tape on the inside of the waist seam to eliminate some bulk, though, and I took pictures, yay! A tutorial is coming later on this week :D

***D'ora in poi, potete cambiare la lingua di un post cliccando sulle bandierine nella barra laterale, a destra in alto. Grazie Pauline per l'aiuto!***
Modello: Abito Anna di By Hand London
Taglia: taglia US8 per spalle e petto, aumentata a US10 in vita.
Modifiche: non ho usato la gonna a 7 pannelli del modello e l'ho sostituita con una gonna molto arricciata con tasche nella cucitura (ho usato quelle dell'abito Emery).
Tessuto: una sontuosa lana dalla mia collezione.
A novembre, quando ho fatto il mio primo abito Anna, vi avevo detto che mi ero innamorata del modello che ce ne sarebbe stato sicuramente un secondo. Beh, eccolo qui! Probabilmente una delle creazioni di cui sono più soddisfatta!
Questa è un po' la mia rivincita dopo il disastroso piazzamento della stampa dell'abito Emery fatto a dicembre, e sono felicissima del risultato!
Questa è un po' la mia rivincita dopo il disastroso piazzamento della stampa dell'abito Emery fatto a dicembre, e sono felicissima del risultato!
Questa meravigliosa lana designer (anche se non chiedetemi di QUALE designer) è stato forse il primo scampolo che io abbia mai comprato, il che significa che è rimasto nella mia collezione per qualcosa come 8 anni.
Ricordo di averlo comprato da questo negozio bellissimo del mio paese che vendeva (purtroppo ha chiuso) quasi solo tessuti firmati. Fuori dal negozio avevano in esposizione scampoli e rimanenze e, anche se all'epoca sapevo si e no fare una cucitura dritta, mi fermavo sempre a guardare queste stoffe e a sognare ad occhi aperti. Con la dipendenza da stoffa si nasce, mi sa XD
Ricordo di averlo comprato da questo negozio bellissimo del mio paese che vendeva (purtroppo ha chiuso) quasi solo tessuti firmati. Fuori dal negozio avevano in esposizione scampoli e rimanenze e, anche se all'epoca sapevo si e no fare una cucitura dritta, mi fermavo sempre a guardare queste stoffe e a sognare ad occhi aperti. Con la dipendenza da stoffa si nasce, mi sa XD
Ad ogni modo, questa stampa ripetuta così particolare mi ha sempre intimidito e sono contenta di aver aspettato ad usarla, ne è decisamente valsa la pena!
Una volta deciso di volerla usare con il modello Anna, ho deciso che volevo le rose ad incorniciare lo scollo e la parte con il plaid nella sezione mediana. Una volta messi i pezzi del modello del corpino sulla stoffa, è stato semplice far quadrare il tutto.
Come l'altra volta, ho optato per una gonna arricciata, stavolta ancora più grande, poichè ho usato due rettangoli in tutta la larghezza del tessuto. Forse non è la soluzione migliore per i miei fianchi larghi, ma questa stoffa cade così bene che non ho saputo resistere a una gonna ultra femminile!
Ho utilizzato dello sbieco all'interno della cucitura in vita per eliminare un po' di eccesso di stoffa e ho fatto delle foto nel processo, per cui pubblicherò un tutorial prossimamente. :D
Una volta deciso di volerla usare con il modello Anna, ho deciso che volevo le rose ad incorniciare lo scollo e la parte con il plaid nella sezione mediana. Una volta messi i pezzi del modello del corpino sulla stoffa, è stato semplice far quadrare il tutto.
Come l'altra volta, ho optato per una gonna arricciata, stavolta ancora più grande, poichè ho usato due rettangoli in tutta la larghezza del tessuto. Forse non è la soluzione migliore per i miei fianchi larghi, ma questa stoffa cade così bene che non ho saputo resistere a una gonna ultra femminile!
Ho utilizzato dello sbieco all'interno della cucitura in vita per eliminare un po' di eccesso di stoffa e ho fatto delle foto nel processo, per cui pubblicherò un tutorial prossimamente. :D