Wednesday, July 31, 2013

Minerva Blogger Network


It's official!
I've been dying to share this with you all, but the Minerva Blogger Network is now up and running and I'm very happy to be a part of it, together with 7 pretty special ladies.

First of all, what is the Minerva Blogger Network?
Each month, we get to choose from the HUGE selection of fabrics, haberdashery and craft supplies that Minerva Crafts has to offer and we create whatever we want. Then we blog about it here and on our blogs as well.
The coolest thing is that the supplies that each of us uses for their project will be available as a kit that everyone can purchase!

This was an incredibly opportunity and I was quite overwhelmed when Vicki of Minerva Crafts and Rachel of House of Pinheiro got in touch with me. I was even happier when I saw the amazing choice that this shop (that I wasn't familiar with) offers. Hello, fabric heaven! Where were you hiding?
I'm really honored to be part of this fantastic team!

So, who else is in the Network?


I hope you're excited about this as well, and that you'll have fun seeing what we come up with every month!
My first post we'll be up next week and I'm looking forward to it :D

Friday, July 26, 2013

La Mia Boutique 07-08/2013

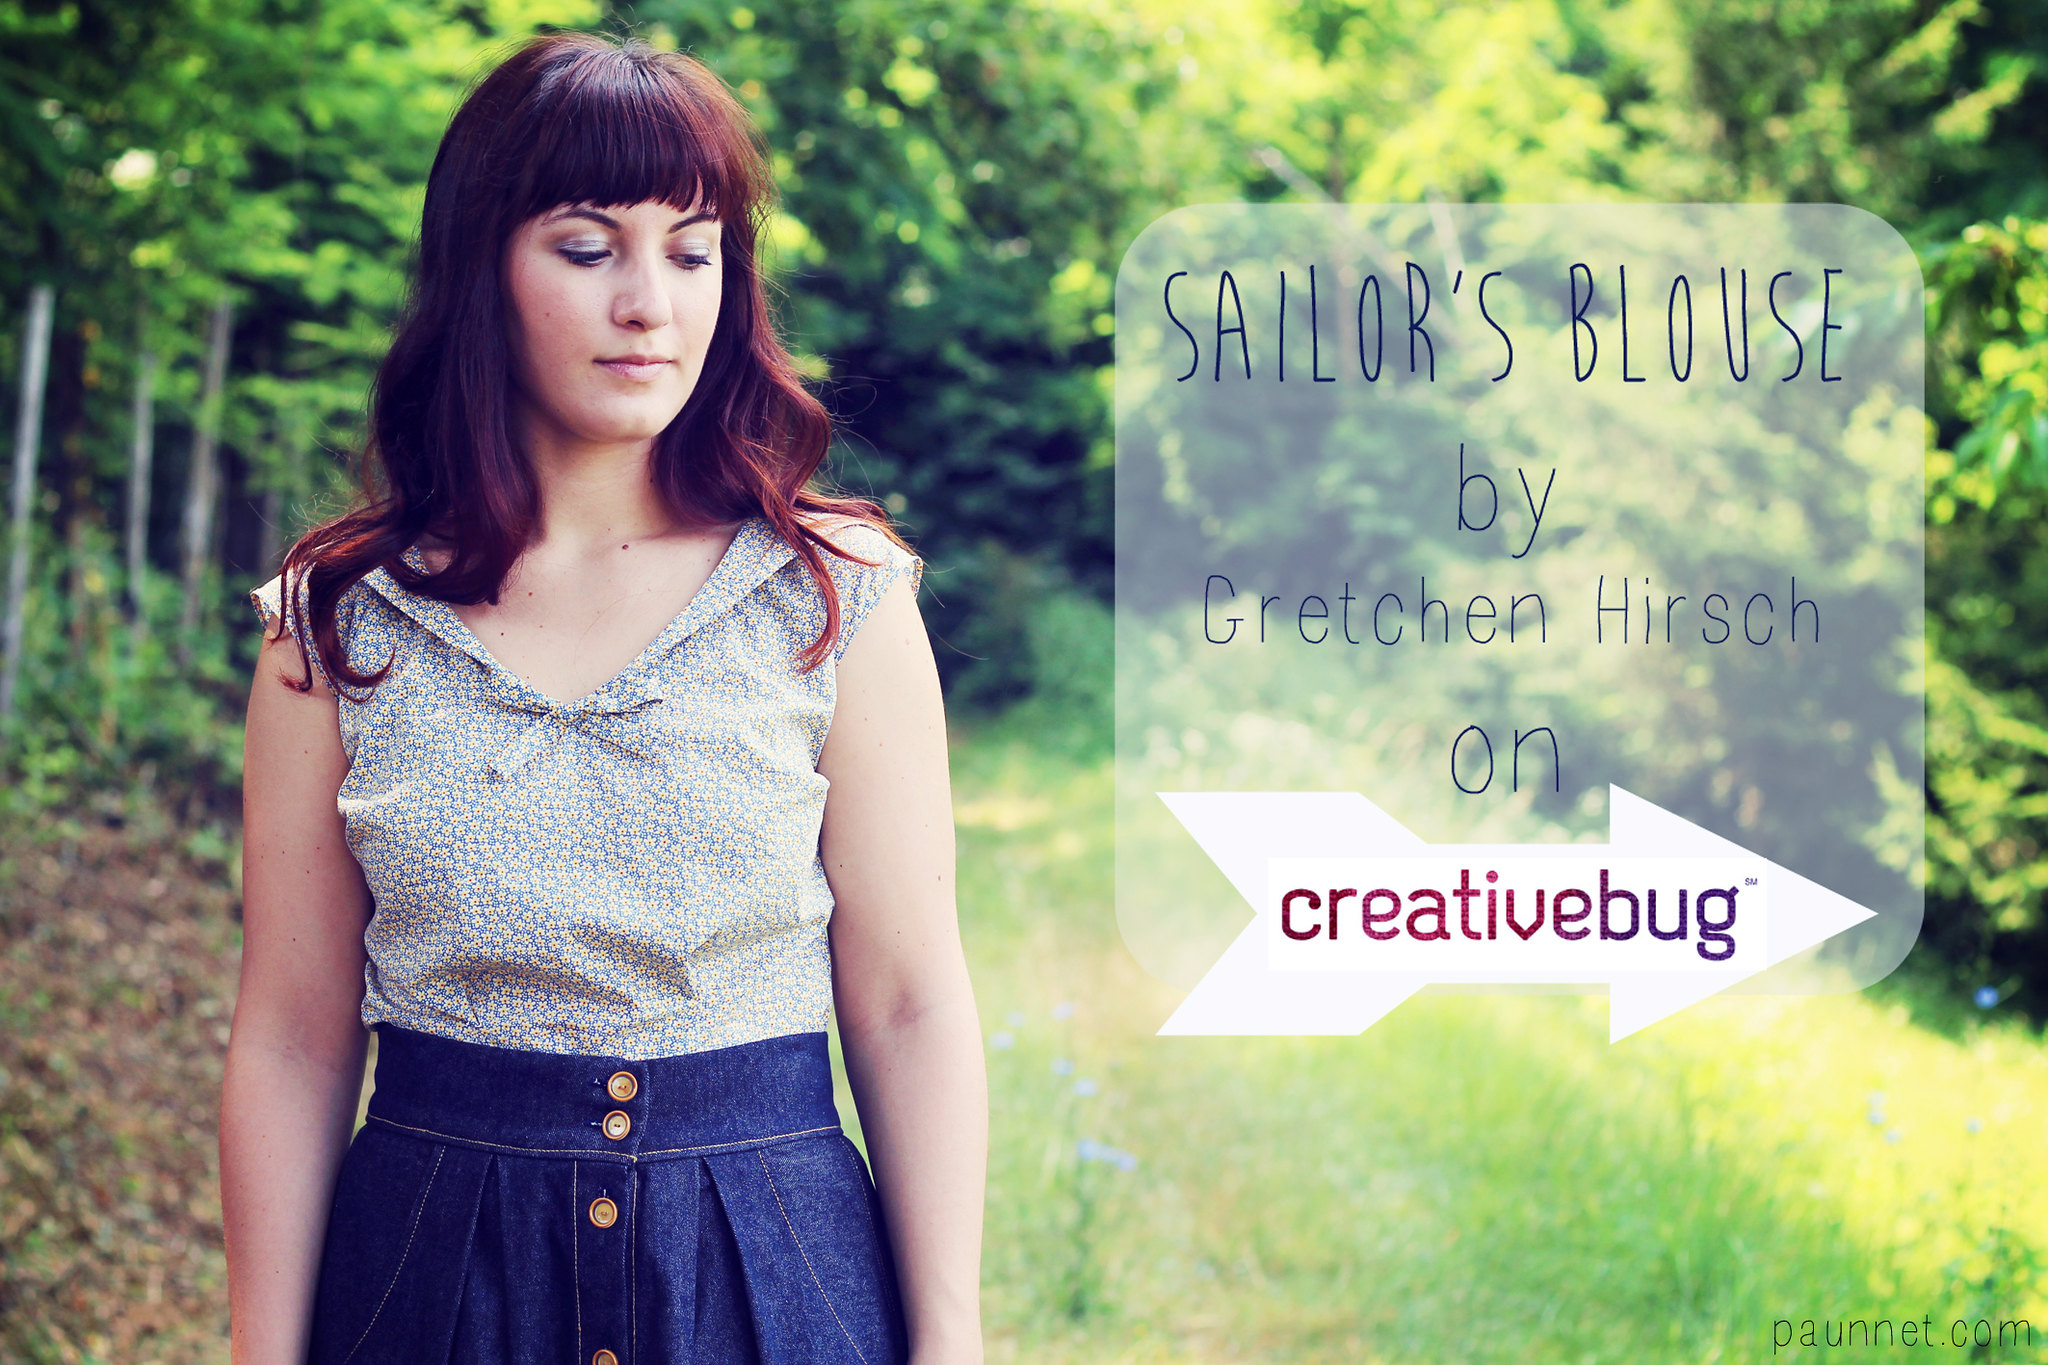
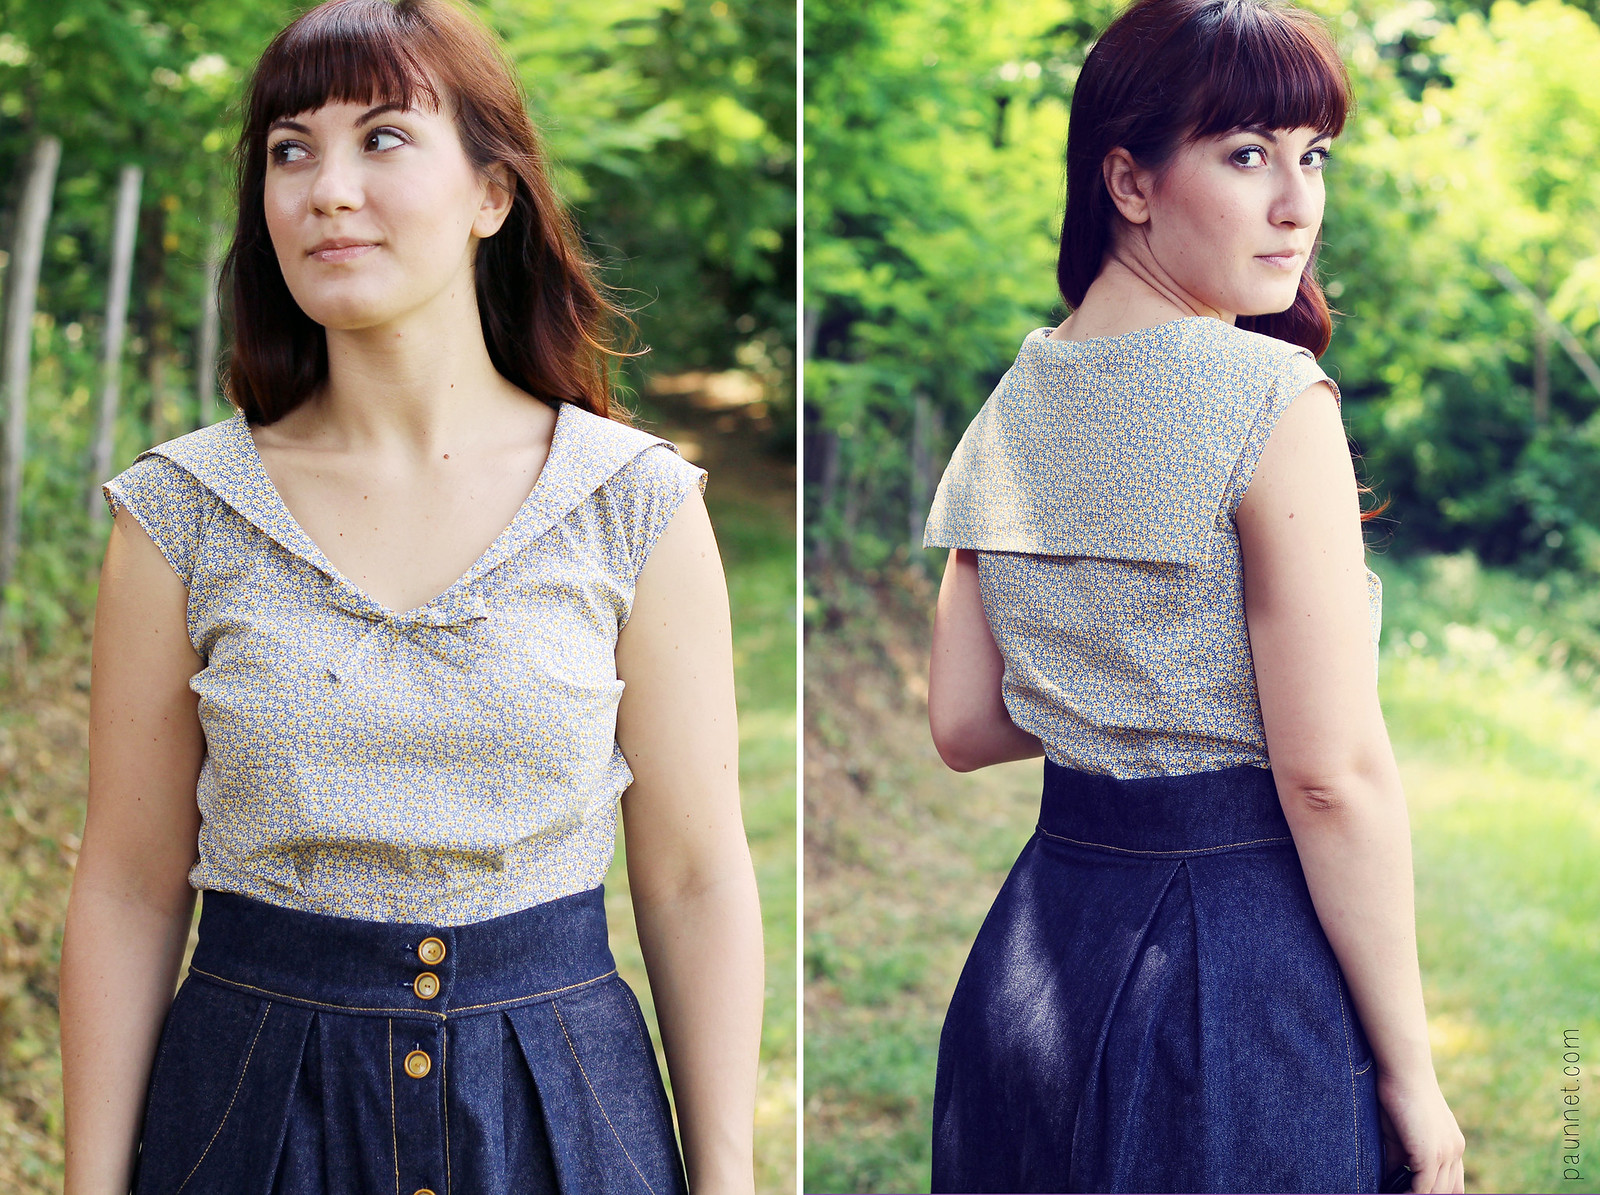
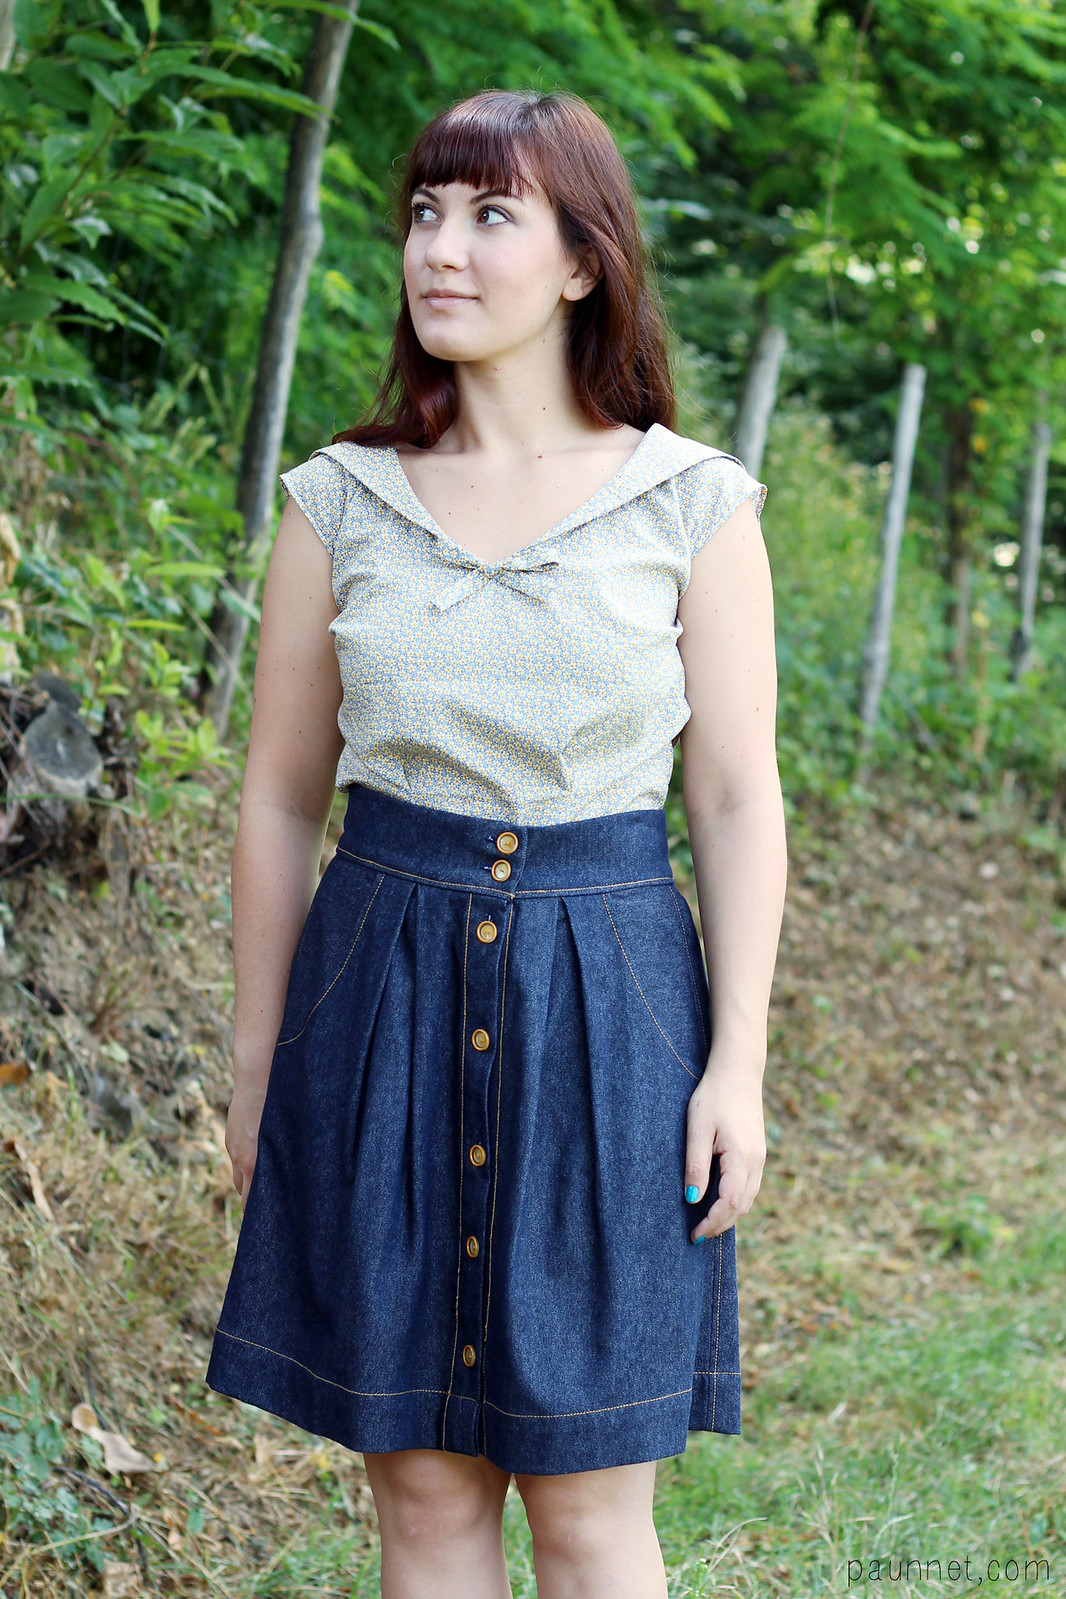
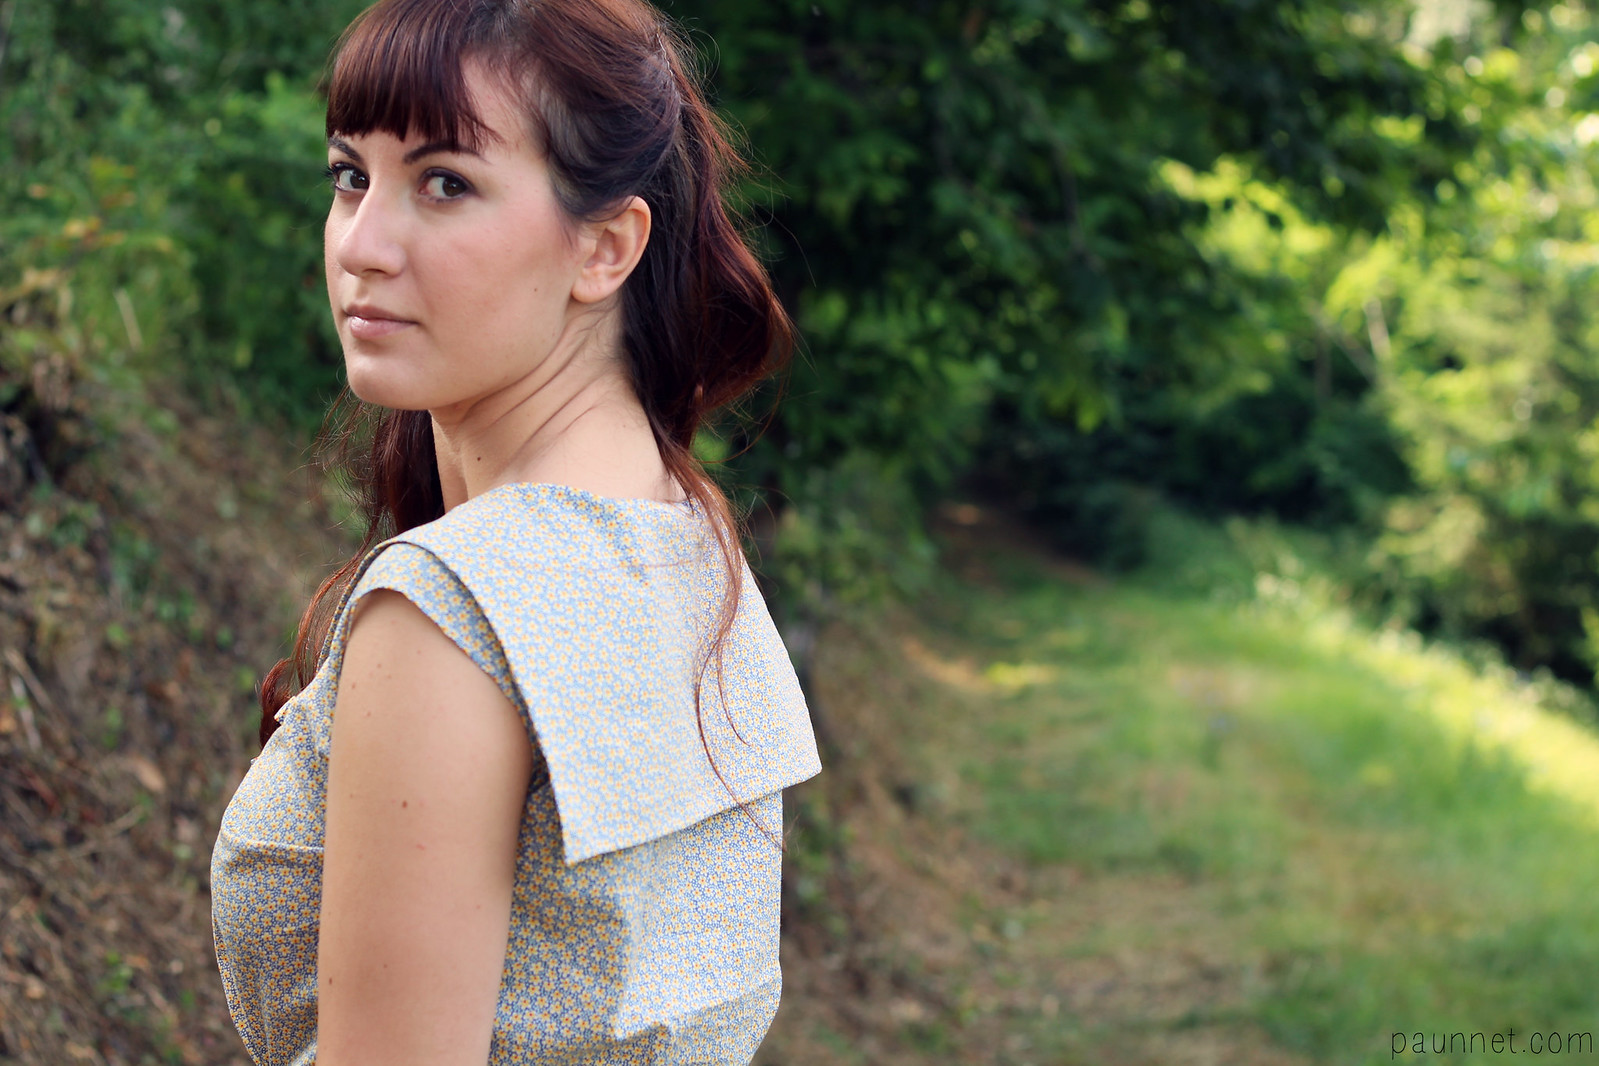
Double issue of LMB! What does that mean? Well, basically nothing, there aren't more patterns than usual. Basically, it's just that in Italy everything shuts down in August, so nothing will come out next month.

But a double issue is a happy coincidence to start a double review, so Silvia of Sewing Princess and I decided to team up: we split the patterns in half and doubled the commentary.
Silvia actually wanted to post a video chat with our reactions, but I chickened out because I'm too self conscious of my accent... Sorry, Silvia!

Anyway, you can read Silvia's post here and her comments in this post are marked in Italic.
Let's dig in!

I like the top, but not those jewels… In Silvia's review you can see FOUR garments with jewel embellishments on them. What's up with that? 
But jeez, those pants are an eyesore. I just don't get pants that are so incredibly unflattering, and still people wear them because they're on trend or they're stylish (I have an ongoing battle with my cousin, a big defender of the harem pant). Just NO.

SILVIA: I really like the top... I have a thing for boat necks...
But those pants... are those wings??? And the ties around the calves would seem very uncomfortable to me... Am I missing something?

Mmh, a vest worn as a top with an exposed midriff… I don't really see anyone making this look stylish. And I usually love lace, but this granny trim belongs on a bedspread.

SILVIA: Well, at least the photoshot is nice! If you were looking for a princess-seamed vest this could be your pattern...otherwise I am all with Anna...I can't really find a way to wear it.

These are rather complicated patterns for such casual clothes. I personally don't like any of the two, they both remind me too much of the 90's and not in a good way.

SILVIA: I really like the blouse... though it's rated at only three stars (so somewhat intermediate) I don't think I will make it for now... the pleats you need to make plus the adding the inset would make it a lengthy project for me. As for the pants... they look nicer on the model than on the real pattern... I wouldn't dare making them as they are a complex project.

 
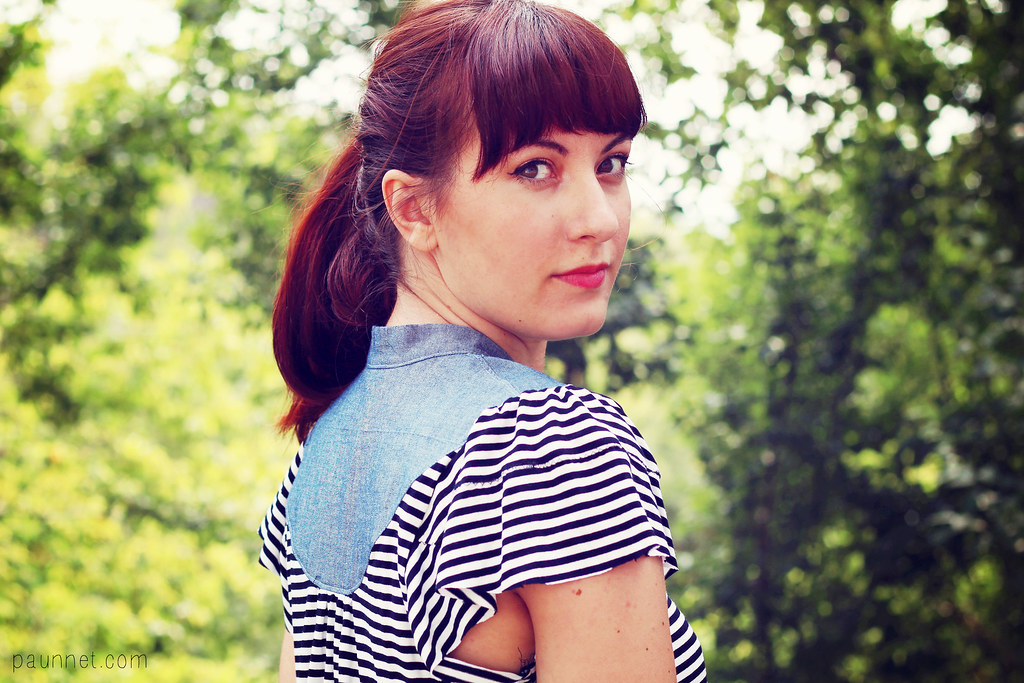
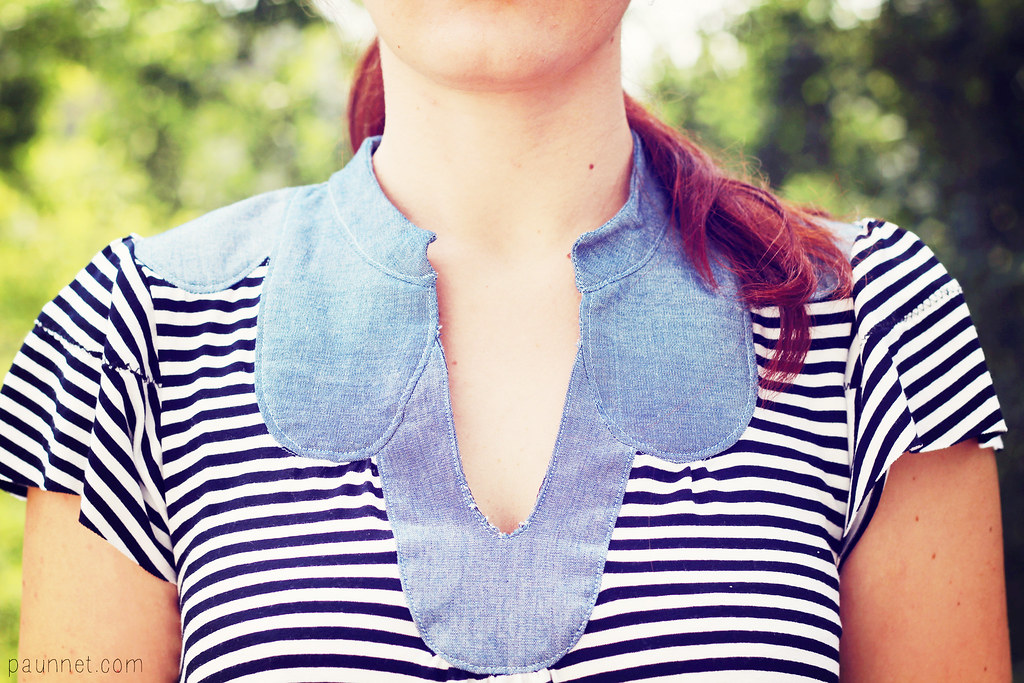
SILVIA: I won't dwell on the cleavage... I am not modest when it comes to dressing but I also don't want to flash my boobs while walking around or even worse at a meeting! Anyway... you can easily sew up the front to your taste. These dresses are very similar except for the length and bodice back I don't see any difference.

As Silvia, pointed out, this black dress is very similar to the white dress under it (which belongs to a photoshoot reviewed in her post). And yes, there's a boobage problem. If you like such a deep neckline, you probably might want to get some fashion tape or prepare for a wardrobe malfunction. 

I'm not a big fan of overalls, I've never even tried a pair on, but I think they look very very chic on the right body type. I almost liked this one until my eyes fell on the crotch. As I said before, I just don't get why someone would wear pants that make you look like you are wearing a diaper. Just ridiculous. There's also a dress variation (technical drawing only) and it could look much more interesting, with that neckline.

SILVIA: Why are these pants so baggy? I hope it's just the model and not the pattern... In any case I don't plan to make overalls... although they seem to be the trend right now. What I would do though is use the top part of the pattern. Actually there's even a variation pattern provided.

Coup-de-coeur of the issue! Of course the front is very similar to both the Macaron dress by Colette patterns and the Yoke dress by Salme patterns, but the back! Oh, that beautiful back! I would probably make the pieces overlap a bit more to make this bra-friendly, but other than that, I'm conquered.

SILVIA: What I like about this dress is that the skirt is just a rectangle! so actually it can be a fast project to fit and make. Is it just me or that lace is not the nicest? I actually like lace too but there's something about the amount or the design that makes me doubtful...perhaps it would be nice to add lace just to the bodice top? Any suggestions?

I refuse to say anything about those pants, I don't want to acknowledge their existence…
But the top is actually quite nice! I like kimono sleeves and this top is blousey without being too slouchy. Very cute and perfect to play with for variations.

SILVIA: The fabric choice and matching is terrible for me. Thankfully there are technical drawings... the flared pants could also be used as pajama pants. Although the top seems to have an inset, it's actually an appliqued lace.

La Mia Boutique has finally decided to include a wider range of sizes for the plus-size ladies (I guess by popular demand), so these garments go up to a size 60. I am so happy to finally see a beautiful REAL curvy woman modeling these garments, and not a model who barely looks like a size 44.
That being said, there's some good and some bad. The blouse and pant combo is extremely cute, flattering and stylish, while the dress looks too much like a uniform… Maybe a bit more interest in the skirt might have helped?

SILVIA: I have been very critical of LMB photoshoots but I really like this one. Maybe they should use real people over models more often... but I digress... The blouse/pants ensemble is nice but there's something unflattering about the dress...which I found surprising since it's from famous Italian plus-size designer Marina Rinaldi.


I had to share these because they're so utterly ridiculous. Can you imagine the male model refusing to wear this stuff because it's so ugly, so they ended up using a mannequin? LOL. I just did.
And can you imagine the face of your significant other if you made him these two… things? My boyfriend would probably be offended by these, and I couldn't blame him!
I don't like mandarin collar on men in general, but this just looks like a woman blouse. And don't get me started on the pants, which look like something my father wears when he's working in the garden...

SILVIA: My first reaction was like Anna's especially on the pants... and tucking in the shirt is certainly not helpful... However I think you could make the shirt work without risking to lose your partner in the making... Imagine removing the trim and chosing a blue chambray... or maybe linen. I think it could work for a summer beach outfit...either that or I need a holiday!


So, what are your impressions on the issue? And did you like this new type of review?
Please give us suggestions if you have any!

Friday, July 19, 2013

Gertie's Sailor's blouse


Pattern: this is a variation on Gertie's Portrait Blouse (also found in Gertie's New Book for Better Sewing) which I learnt in a Creativebug workshop.

Size: size 4 with alterations.

Alterations: a 2,5cm FBA, 7,5cm of added length.

Fabric: I used a lovely lightweight cotton I found at my local market. It was perfect for this project! I suspect it might even be Liberty, but I'm just guessing.


What I liked: I love, love, love this blouse! I have wanted a sailor collar blouse forever and this is just perfect for me. I found out about Gertie's courses at Creativebug a while ago, and I took advantage of an offer in May to subscribe and take as many workshops as I could. The Sailor's Collar blouse was the one that I enjoyed the most, so I thought to share my thoughts on it.

This isn't the first class taught by Gertie that I followed: I took her Bombshell dress class and her Starlet Suit class (apparently, not available anymore?) on Craftsy and I loved them both to death, so I knew this wasn't going to disappoint me. Boy, I was right.
I will post a more detailed review of the workshop next week, though, so this post is not too long.

I will mention the construction of this blouse more in detail in that post, but if you're familiar with the Portrait blouse pattern, this is a simple variation to the neckline with the addition of a collar. The base pattern is a fairly simple one which has already been reviewed many times on the blogosphere, but if you have any questions, please feel free to ask.

I've already worn this blouse quite a few times and I definitely prefer it tucked in a skirt (worn here with my denim Kelly skirt), but it also works nicely with pants. It's definitely a versatile piece.

As usual, I wanted to include a couple more detailed shots of the garment. Here you can see some of the features of the blouse: it has a lapped side zipper (which I was afraid could be uncomfortable but it's really not), waist tucks, and hand-sewn bias tape to finish the neckline (I didn't enjoy hand-sewing the bias tape at all).

What I didn't like: The only thing I don't like about this project is that I could have worked a bit harder on the fit. You can see there's some excess fabric between the armholes and the bust, but after sewing three muslins I decided I would make this work.
Truth to be told, I fitted the muslin wearing another bra, which is more of a push-up than the one I was wearing in these photos, and it looks much better. Undergarments really can make such a huge difference!

But anyway, I'm very pleased with this one, as you might have guessed. Yay for a new friend in my wardrobe!

I'm currently enjoying some time at the seaside, so have a great weekend and see you next week!

*Disclaimer: This post contains affiliate links. This means that if you purchase this workshop or subscribe to Creativebug I will earn a small commission (but you won't spend any extra).*

Friday, July 12, 2013

Chambray and Stripes Mariposa tee

Pattern: Mariposa Tee by Sew Liberated. I purchased mine from Backstitch.

Size: size 8/10 from top to bottom

Alterations: None! Although next time, I'll raise the armhole by about 1,5cm.

Fabric: locally purchased striped jersey and chambray leftover from my Bleuet dress.

What I liked: I've had this pattern for almost 2 years (!!!) but I was always very intimidated by it, because of my irrational fear of knits (which I'm slowly conquering). I also never seemed to find some decent jersey in my fabric shopping adventures, but when I saw this striped one I knew it was perfect for this project.
I couldn't be happier with the color and texture combo of this t-shirt: chambray + black and white fit seamlessly in my wardrobe.
The fit was very good on me, especially considering this is straight out the envelope (I didn't make a muslin). I love how drapey and effortless it looks: the gathered sleeves and the gathers at the center front and back create a beautiful effect.

Another big plus of this project is that it requires very little fabric, so it's a great scrap-buster. Because the t-shirt is so blousey, I think you could also get away with using a woven fabric for the main bodice, as long as it's very lightweight and drapey (for example, a voile).

What I did not like: Now, the not-so-great part... The construction of this t-shirt was a pain in the butt, to put it mildly. I thought it was a one-afternoon project, and it turned out to be more of a two-days-with-lots-of-swearing one.
All those nice yoke pieces were the death of me. They have a 1/4" seam allowance and the instructions have you cut a cardboard template without the seam allowance so that you can press the fabric over them (does that make sense? I hope so). This process alone took FOREVER, so next time I'm going to thread mark the seam allowances, clip them and sew them without pressing them. I think this will speed things up by a lot and it will avoid accidents when clipping the seam allowance (see the curve at the center of neckline, looking like crap).

Another thing I hated with all my heart were the sleeves. You have two sleeve pieces that you are supposed to join using steam-a-seam tape on the edge and then topstitch. WHY? Why breaking up the beautiful drape of these sleeves? I didn't take the time to read the instructions carefully before cutting and after sewing my messy sleeves I just wanted to get it over with this t-shirt, so I didn't recut them. Next time, I'll definitely redraft them as one piece.
The armhole is also quite low (you can spy a bit of my bra from the side), so I'm going to raise it by 1,5cm for my next version.

Finally, I should also mention that the pattern sheets are kinda crappy. They're made of flimsy paper and there are almost no markings to help you find and follow the lines corresponding to your size. All the lines are plain and there are no little numbers at the corners to help you out, so the tracing process can be quite frustrating. 


All in all, construction and pattern sheets aside, I'm in love with this t-shirt. I've been wearing it with the black capris you see in this photo or with jeans. I have yet to try it with a high-waisted skirt, but I don't think it would be the best look for it.
I definitely plan to make more with a few improvements, as soon as I find some more cute jersey. 

Wednesday, July 10, 2013

Inspiration: Lily Ashwell

Please excuse the lack of posts from yours truly lately...
I will be back on Friday with a completed project, but in the meantime enjoy the delightful work of this designer I recently stumbled upon. Don't you wish to have everything here? I know I do.


Source

Tuesday, July 2, 2013

Google Reader is dead

The moment has come when Google Reader finally stopped working. 
I was very sad when it was announced, since it had been my RSS reader of choice fo years, but we had all the time in the world to find a replacement, and I'm sure you all already did.

It seems to me like the most popular choice around was switching to Bloglovin'. I personally have never been too fond of that because, unless something changed, you can't read a whole post on there, you need to click on the title and it'll open in a new tab. Too impractical for me.
So I tried both The Old Reader and Feedly, and was quickly converted to the latter.
Feedly is the most similar to Google Reader, it allows you to organize your feeds, there a few options on how to visualize content and has lots of shortcut keys to make the reading experience faster.


If you haven't found a new system yet, just know that you can find paunnet on Bloglovin' here, but you can also follow by email (there's a little gadget in the sidebar). 
If you use Feedly like I do, just click on "Add content", search "paunnet" and you will be able to subscribe directly from there.
You can also like my page on Facebook or follow me on Twitter, every new post is announced automatically on there too.

There, you're all sorted out!