[For the Italian version of this post, press the Italian flag on the right -
Per leggere questo post in italiano, premi la bandierina italiana sulla destra]
Per leggere questo post in italiano, premi la bandierina italiana sulla destra]
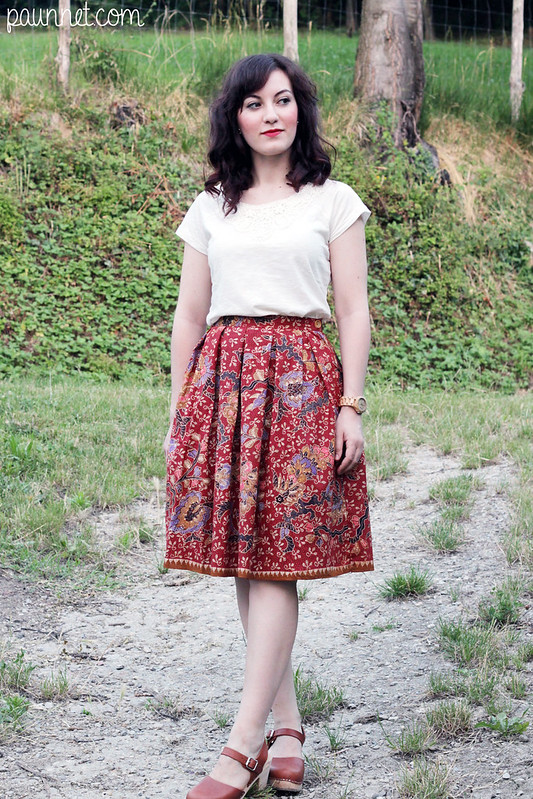
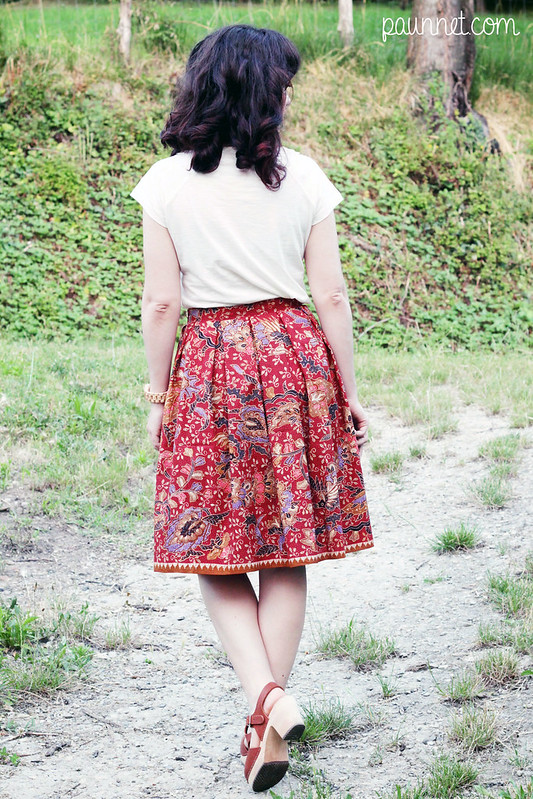
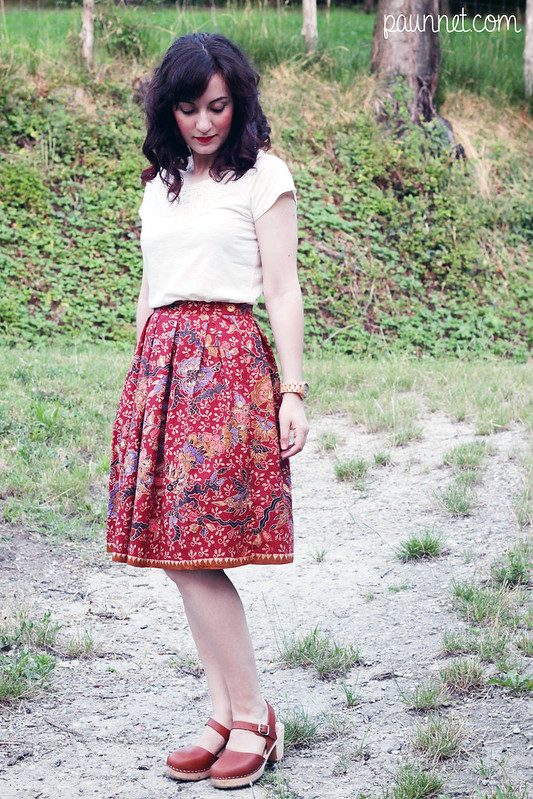
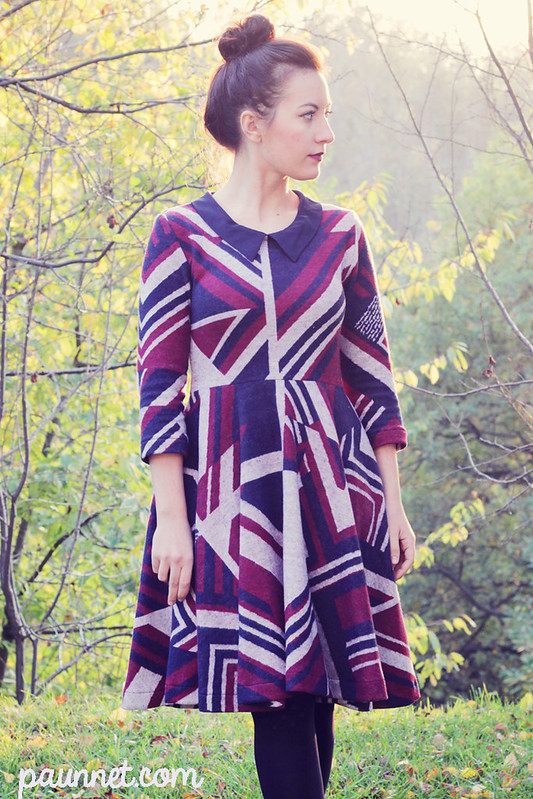
- Pattern: self drafted (more details below)
- Alterations: I did have to take in the bodice a little bit and shorten the waistline.
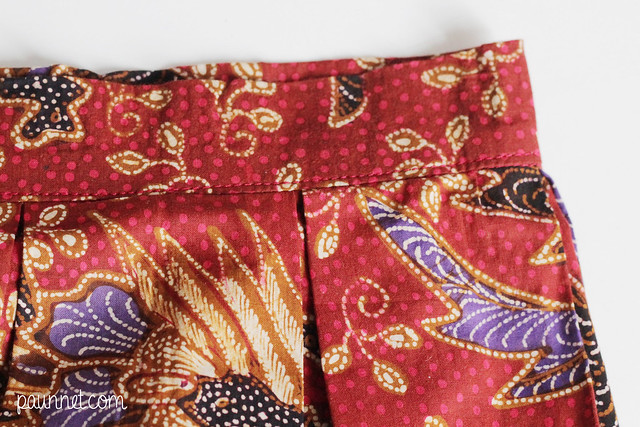
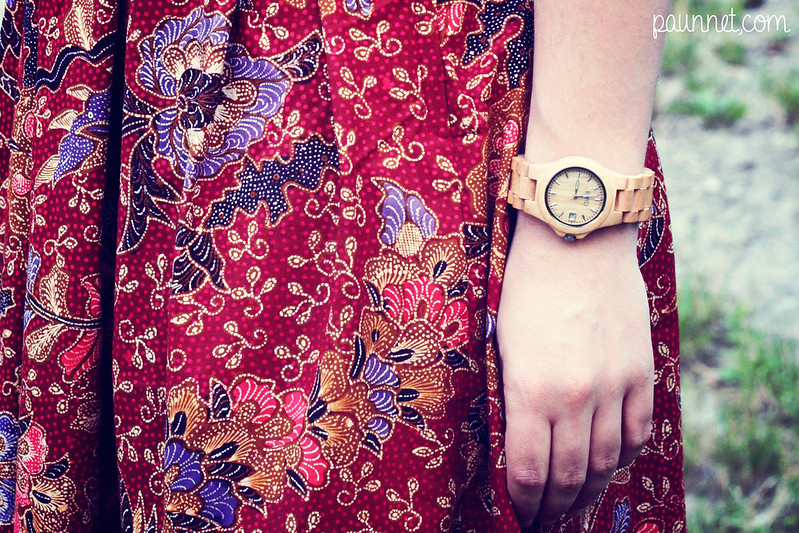
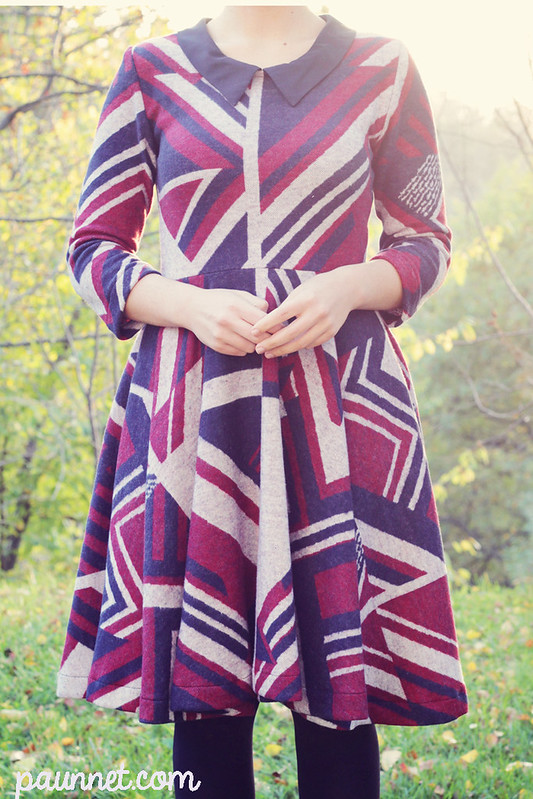
- Fabric: a polyester Intarsia Graphic/Ethnic Knit in Off White, Burgundy and Navy from The Sweet Mercerie; the fabric for the collar was also kindly provided by the same store, but I don't know the composition.
A few weeks ago, I had just left school and was distractedly scrolling through my Instagram feed on the subway, when I saw that Portugal-based French fabric and notion store, The Sweet Mercerie, was having the second edition of a mini contest called "Sweet Ambassadrice".
Basically, they presented this graphic print fabric and invited people to send their ideas on what to make with it. They would provide fabric to the three people whose idea they'd like the most.
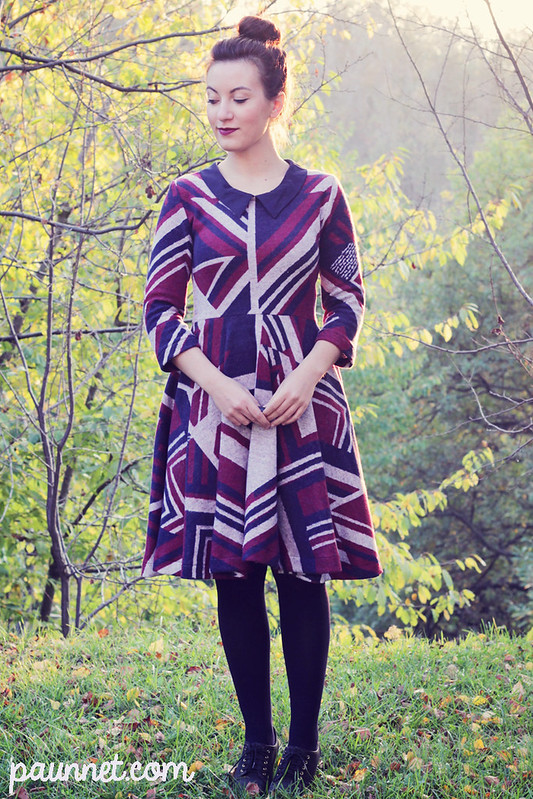
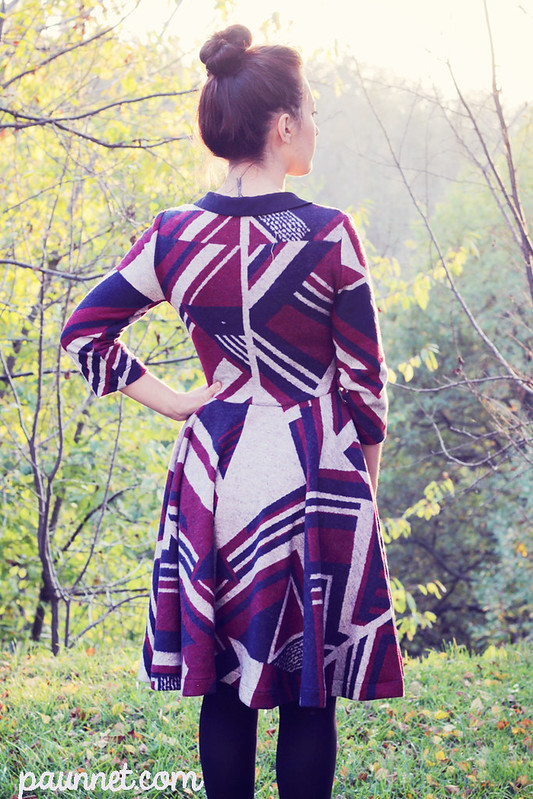
I thought it was such a fun and stimulating idea! So, as soon as I got home, I sent a VERY raw sketch of a dress with a plain bodice, a circle skirt, and a peter pan collar (of course). I liked the contrast of the graphic print with a very feminine shape, and the heaviness of the fabric (230 gr/m²) combined with such a full skirt.
Well, as you might have guessed by now, I was chosen!
I ended up having to rush the construction of this dress, because the fabric took a while to arrive all the way from Portugal, and then I was away for a week at Abilmente (such a fun experience).

- using my bodice sloper, removing the darts, lowering the neckline and the armhole curve. No ease was added.
- drafting narrow 3/4 length sleeves, a circle skirt and a collar. I ended up with a Chelsea collar, as I thought a round shape would clash too much with the lines of the fabric.
That might seem like a lot work, but if you have some practice in drafting patterns, you'll know that wasn't difficult at all.
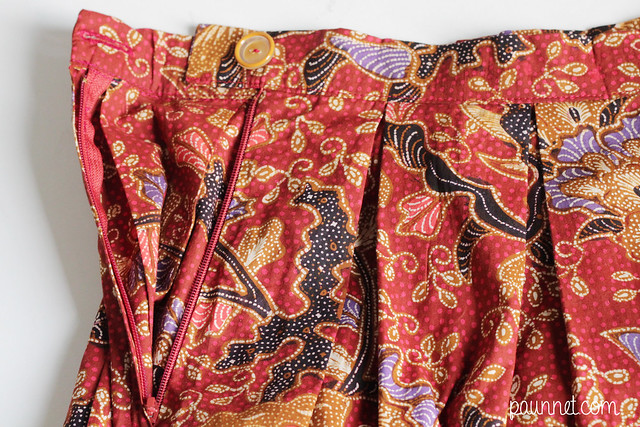
I serged everything together, making minor fit adjustments as I went along, then sewed the collar and finished the neckline with bias tape. I hemmed the sleeves and the skirt with a narrow zigzag stitch.
I must admit I wasn't 100% in love with this dress, but the more I look at these photos, the more I like it. It feels like wearing a very feminine, fitted blanket, so it'll definitely be great for colder months.
If you like this fabric and purchase it for yourself, though, don't forget that it's very heavy. If you want to avoid the "blanket" effect (which I actually wanted), you can always switch the circle skirt with a pencil skirt, or just make a super cool sweater with it (for example using the Ondée pattern by Deer & Doe)!
- Modello: fatto da me (dettagli sotto)
- Modifiche: rispetto al modello originale, ho stretto un po' i fianchi e alzato la vita.
- Tessuto: tessuto elasticizzato in poliestere con motivi grafici di The Sweet Mercerie; anche il tessuto del colletto proviene dallo stesso negozio, ma non so quale sia la composizione (credo viscosa?).
Qualche tempo fa, stavo distrattamente controllando il mio feed Instagram mentre ero sulla metropolitana, quando mi sono imbattuta in questa iniziativa del negozio di tessuti francese (basato in Portogallo), The Sweet Mercerie, chiamata "Sweet Ambassadrice": in pratica, presentato un tessuto scelto da loro, invitavano a mandare idee su cosa realizzarci. Le tre ragazze con le idee preferite da loro avrebbero ricevuto il tessuto necessario per ricreare tale capi.
E' stato un progetto superveloce, e anche per questo, non proprio perfetto. Voglio stringere ulteriormente la vita e farmi dare una mano per livellare l'orlo, che in questo momento è un po' stortino, anche se in queste foto lo sembra più di quello che non sia davvero, poichè non mi sono sistemata bene l'abito addosso (infatti anche la linea della vita sembra stortissima).
Una volta finito, non è che ne fossi proprio innamorata, ma più guardo queste foto e più mi piace. Sembra di indossare una coperta super femminile e aderente; sicuramente nei mesi più freddi sarà un alleato niente male, per me che odio infagottarmi anche con -5° fuori.
Se vi piace questo tessuto e intendete acquistarlo per voi, non scordate che è davvero molto pesante. Se volete evitare l'effetto "coperta" (che io ho invece voluto), scegliete una gonna meno ampia (o addirittura una gonna a tubino), oppure fermatevi al busto e fate un bel maglioncino (ad esempio usando il modello Ondée di Deer&Doe)!
"Che bella idea!" ho pensato, e stimolante, proprio in un periodo in cui ho veramente bisogno di stimoli per rimettermi a cucire per me stessa.
Così, appena arrivata a casa, ho subito mandato uno schizzo (bruttissimo, per altro) di un abitino con corpino semplice, gonna a ruota, e colletto Claudine (ovviamente).
Mi piaceva molto il contrasto tra la stampa grafica e una silhouette estremamente femminile, così come l'associare il peso alto del tessuto (230 gr/m) ad una gonna così ampia.
E beh, se siete molto, molto perspicaci avrete capito che sono stata scelta! :)
La costruzione di quest'abito è stata estremamente frettolosa, purtroppo, poichè il tessuto ci ha messo un bel po' ad arrivare dal Portogallo e perchè la settimana scorsa sono stata a Vicenza per Abilmente (che esperienza stupenda!!!).
Per riassumere, ecco com'è nato quest'abito:
- Per il modello, ho usato la mia base del corpino, ho eliminato le pince e abbassato scollo e giromanica.
- Ho disegnato delle maniche aderenti a 3/4, una gonna a ruota e un colletto con un pochino di montante. Invece del collo Claudine (o Peter Pan) ho scelto un colletto a punta, avevo paura che la forma arrotondata stonasse con le righe dritte del tessuto.
Può sembrare un lavoro lungo, ma con un po' di esperienza sulle spalle di modellistica, si tratta di un processo estremamente semplice.
- Ho poi cucito tutto a tagliacuci, facendo prove ed aggiustamenti intermedi. Ho cucito il colletto, l'ho attaccato allo scollo e ho rifinito con dello sbieco. Ho fatto l'orlo a maniche e gonna con uno zigzag molto stretto.
Una volta finito, non è che ne fossi proprio innamorata, ma più guardo queste foto e più mi piace. Sembra di indossare una coperta super femminile e aderente; sicuramente nei mesi più freddi sarà un alleato niente male, per me che odio infagottarmi anche con -5° fuori.
Se vi piace questo tessuto e intendete acquistarlo per voi, non scordate che è davvero molto pesante. Se volete evitare l'effetto "coperta" (che io ho invece voluto), scegliete una gonna meno ampia (o addirittura una gonna a tubino), oppure fermatevi al busto e fate un bel maglioncino (ad esempio usando il modello Ondée di Deer&Doe)!