Monday, January 20, 2014

My Birthday Anna dress

***UPDATE: from now on, you can read my posts in Italian by clicking on the Italian flag in the top right sidebar. Thanks Pauline for helping me with this!***

Size: size US8 for shoulders and bust, graded to a size US10 at the waist.
Alterations: I didn't use the 7-panel skirt of the pattern and opted for a very gathered skirt with in-seam pockets (I used the pattern piece from the Emery dress).
Fabric: A luxurious designer wool from my stash.

Back in November, when I made my first Anna dress, I told you that I fell in love with this pattern and that for sure there was going to be a second one. Well, here it is, probably one of my makes I'm most satisfied with!
This is my revenge on print placement after my Emery dress débacle, and I couldn't be happier with the result.
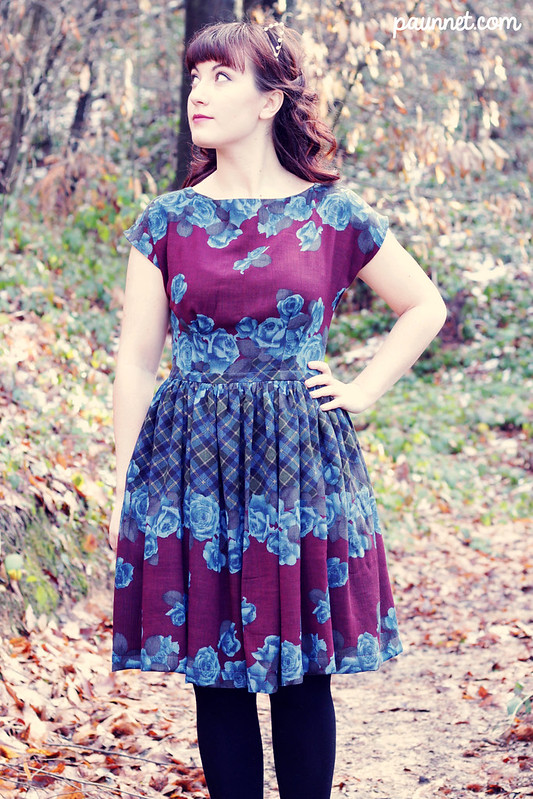
This gorgeous designer wool (although don't ask me what designer) was actually on of the first fabrics I've ever bought, which means it has been in my stash for about 8 years.
I remember buying it from this fantastic fabric store in my town (now closed, sadly) that carried almost exclusively designer fabrics. They used to always display remnants hanging on a clothes rack just outside the store, and even though I could hardly sew a straight line, I would always stop and look at them all. I guess fabric addiction is something I was born with XD
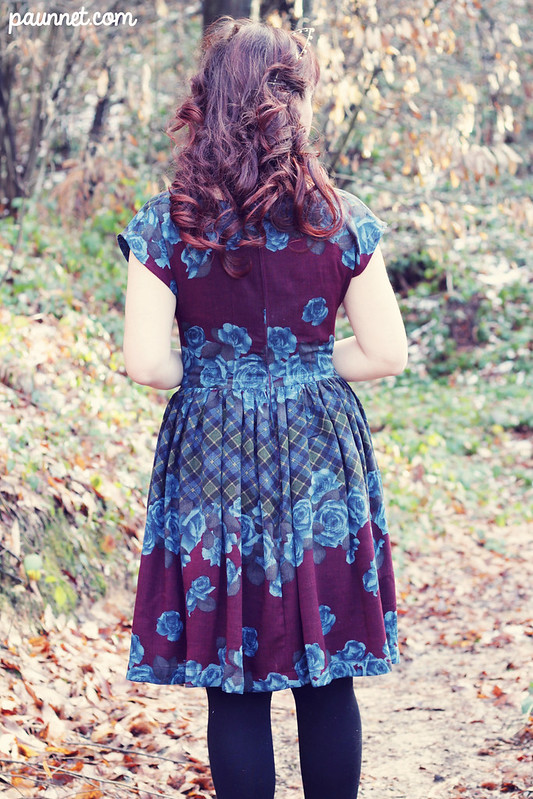
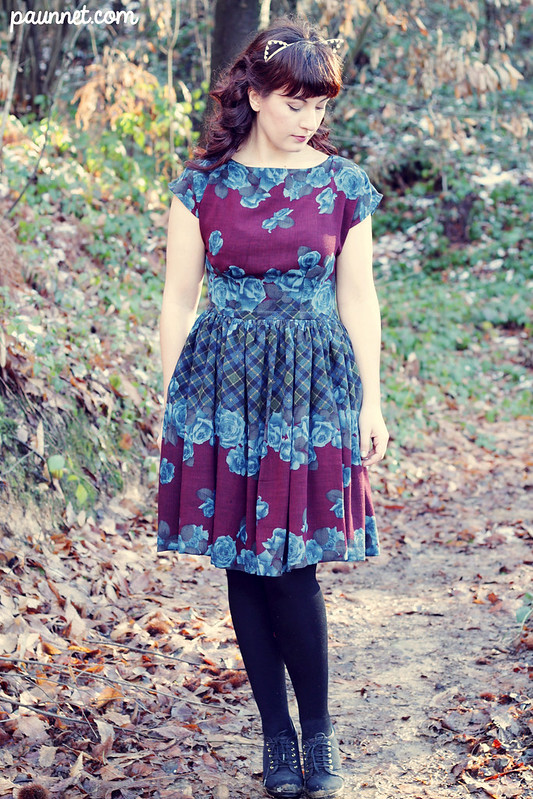
Anyways, this repeating print always intimidated me and I'm glad I waited all this time to use it, because it was so worth it!
Once I decided out I wanted to use it for an Anna dress, I figured I definitely wanted the roses to frame the neckline and have the plaid section in the middle of the dress. Once I placed the pattern pieces of the bodice on the fabric, it was quite easy to figure out the rest.

Just like last time, I went for a gathered skirt; this time it's even fuller, I used two panels in the whole width of the fabric. It's not the most flattering solution for my already full hips, but this fabric has such a lovely drape that makes the skirt so dreamy!
I used bias tape on the inside of the waist seam to eliminate some bulk, though, and I took pictures, yay! A tutorial is coming later on this week :D

I photographed this dress on my birthday, two weeks ago, and since I felt festive, I took out my cat ear headband (from ASOS) that I love so much but never have the courage to wear... I mean, if taking photos of a beautiful dress on your birthday is not the perfect occasion, I don't know what is XD


***D'ora in poi, potete cambiare la lingua di un post cliccando sulle bandierine nella barra laterale, a destra in alto. Grazie Pauline per l'aiuto!***

Taglia: taglia US8 per spalle e petto, aumentata a US10 in vita.
Modifiche: non ho usato la gonna a 7 pannelli del modello e l'ho sostituita con una gonna molto arricciata con tasche nella cucitura (ho usato quelle dell'abito Emery).
Tessuto: una sontuosa lana dalla mia collezione.

A novembre, quando ho fatto il mio primo abito Anna, vi avevo detto che mi ero innamorata del modello che ce ne sarebbe stato sicuramente un secondo. Beh, eccolo qui! Probabilmente una delle creazioni di cui sono più soddisfatta!
Questa è un po' la mia rivincita dopo il disastroso piazzamento della stampa dell'abito Emery fatto a dicembre, e sono felicissima del risultato!

Questa meravigliosa lana designer (anche se non chiedetemi di QUALE designer) è stato forse il primo scampolo che io abbia mai comprato, il che significa che è rimasto nella mia collezione per qualcosa come 8 anni.
Ricordo di averlo comprato da questo negozio bellissimo del mio paese che vendeva (purtroppo ha chiuso) quasi solo tessuti firmati. Fuori dal negozio avevano in esposizione scampoli e rimanenze e, anche se all'epoca sapevo si e no fare una cucitura dritta, mi fermavo sempre a guardare queste stoffe e a sognare ad occhi aperti. Con la dipendenza da stoffa si nasce, mi sa XD 

Ad ogni modo, questa stampa ripetuta così particolare mi ha sempre intimidito e sono contenta di aver aspettato ad usarla, ne è decisamente valsa la pena!
Una volta deciso di volerla usare con il modello Anna, ho deciso che volevo le rose ad incorniciare lo scollo e la parte con il plaid nella sezione mediana. Una volta messi i pezzi del modello del corpino sulla stoffa, è stato semplice far quadrare il tutto.

Come l'altra volta, ho optato per una gonna arricciata, stavolta ancora più grande, poichè ho usato due rettangoli in tutta la larghezza del tessuto. Forse non è la soluzione migliore per i miei fianchi larghi, ma questa stoffa cade così bene che non ho saputo resistere a una gonna ultra femminile!
Ho utilizzato dello sbieco all'interno della cucitura in vita per eliminare un po' di eccesso di stoffa e ho fatto delle foto nel processo, per cui pubblicherò un tutorial prossimamente. :D

Ho fotografato quest'abito il giorno del mio compleanno, due settimane fa, e visto che ero in umore di festa, ho tirato fuori il mio adorato cerchietto con orecchie di gatto (di ASOS) che non ho mai il coraggio di mettere... Insomma, se fare le foto a un bel vestito il giorno del mio compleanno non è l'occasione giusta per indossarle, allora non so quando! XD

Friday, January 17, 2014

Burdastyle Magazine 02/2014

The flu knocked me out for a few days, so what better way to ease back into blogging than criticizing the new issue of good old Burda?
Let's go!

There are a couple interesting t-shirt patterns in this issue. This one has this draping on the front that I'm not too sure about... I want to like it, but it just doesn't convince me... I mean, I'm the kind of person who would be caught in a door knob or something within minutes of wearing this t-shirt, so...

EDIT: If you want to see a finished version of the t-shirt, my reader Carla very kindly sent me a link to Kathy Sews's blog. Thank you!


This other t-shirt again looks interesting on paper... but again it doesn't convince me. This thing at the neck feel a bit constrictive to me and I don't really like how it connects in the back.
The skirt is the first of a series of very, very cute A-line skirts in this issue. Quite lovely, really.

Finally for knits, I'm quite intrigued by this little dress here. I love the mix of materials and the asymmetry at the front. I'm also intrigued to know how that neckline is constructed (it looks like a triple band of some sort?).

Now, for a little bit of controversy.
You know what I'm about to say. THOSE PANTS. If you're one of those people who loves them and could even make them work, just know I admire you, because I can't help but shrugging and thinking "hideous", and I don't know if that just makes me a little small-minded. But yeah, I can't help it, I just hate them.
The jacket is really cute, but that's not the point, I'm too distracted by the pants.


And speaking of cute jackets... Hello! This reminds me a liiiittle bit of the Ninot jacket, the latest pattern by Pauline Alice and although I don't need a jacket like this one right now, it's a very, very nice one if you like a bit of vintage in your look.

I'm a bit surprised at myself, but I quite like this little top here! There's also a dress version and I like it even more.
The skirt is just beautiful, I die for all those pleats!

The skirt is a simpler (yet still very cute) variation of the previous one. The bustier... I don't know, it's something I probably wouldn't wear but it's not a bad idea per se... Opinions?

Give me a dress with a buttoned back and I'll be happy any day. Joking aside, this is REALLY cute. I'm curious to see how that belt is constructed with the front pleats...
The technical drawing here suggests that the stripes of this dress are pieces of three different fabrics... right? Wow, that seems like a LOT of work for such a simple dress. I definitely would never do it, but I guess it allows you to create some interesting effects...


My gosh, there's a lot going on in this dress... I really don't like the neck flounce, it looks a bit too... junior to me (and spoken from someone who wears Peter Pan collars almost daily, that's saying a lot).
I like the tucks, but I feel like there are way too many.

And finally, plus size patterns!
The top here is cute and has tons of potential for variation. The pants... eep! I really don't like them at all. That flared leg is so 90's to me and the pocket placement on the back seems very very wrong.

What a cute little jacket! It feels a bit matronly as styled here, but it could look much more fresh and young in another colour (or just with different styling, really).

What do you think, guys? To purchase or not to purchase?
I think I will get this issue, I'm not incredibly thrilled by it, but it's one of those I might regret not getting later on.

Nuovo mese, nuova review di Burda (non ancora in italiano, sorry!).
Che ne dite dei modelli di questo numero? Io probabilmente lo comprerò: anche se non mi fa impazzire, ci sono abbastanza modelli interessanti, e sono sicura che se non lo comprassi, tra qualche mese me ne pentirei... Mi è già successo troppe volte!


Saturday, January 11, 2014

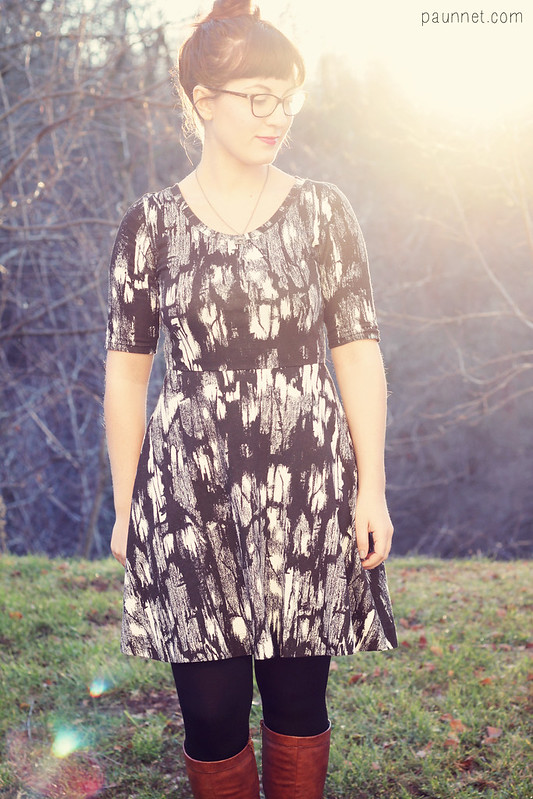
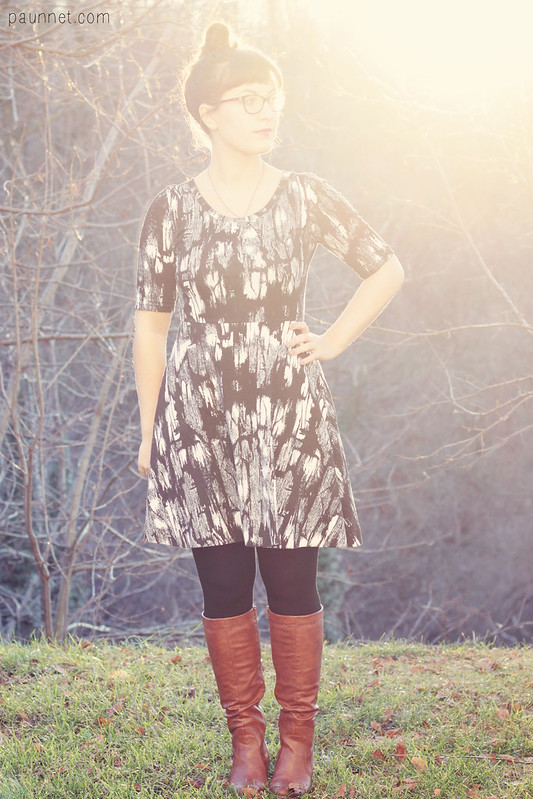
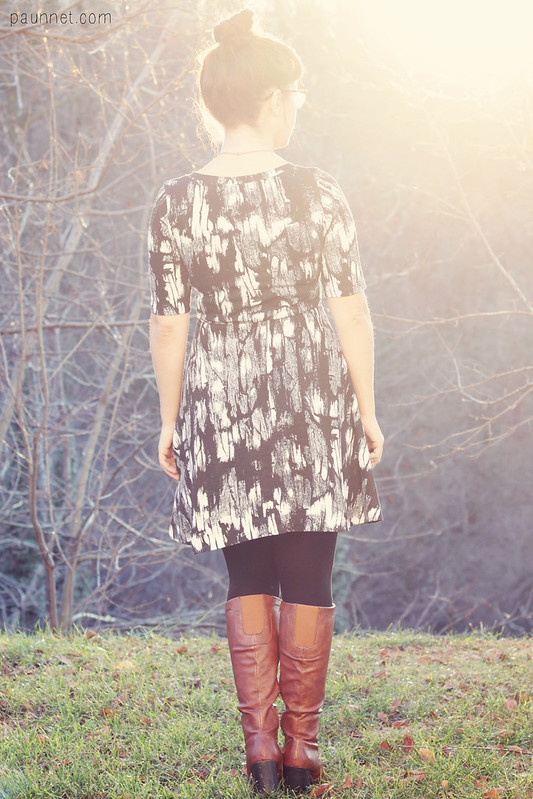
Minerva Blogger Network: Black and White knit skater dress

Size: size 3, graded up to a 4 at the waist and hips.
Alterations: shortened the bodice by 3 cm.
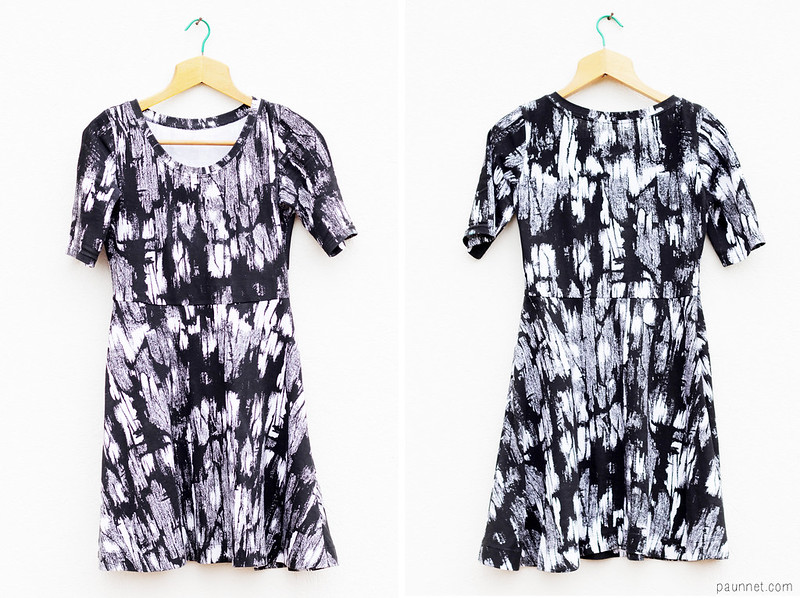
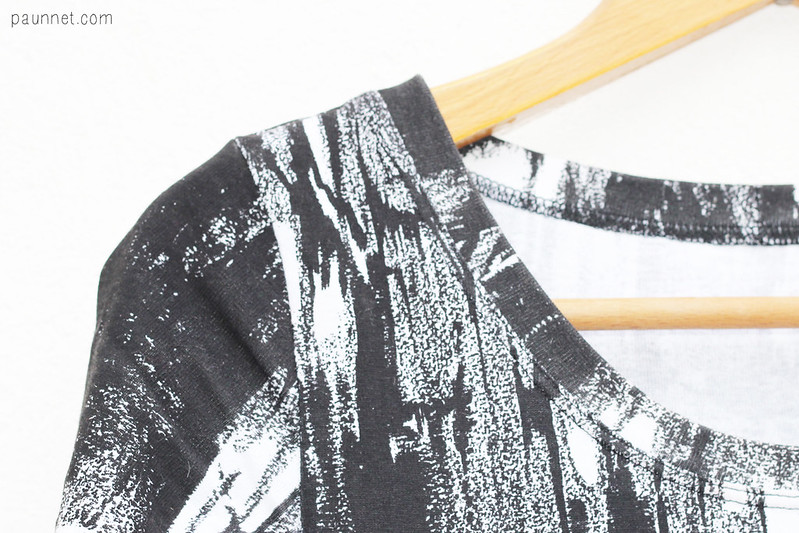
Fabric: Black and white abstract print jersey from Minerva Crafts

I don’t know about you, but one of the main aspects of the Holidays in my household is EATING… a lot... which means I always end up with a few extra kilos in January.
So, for my January project of the Minerva Blogger Network, I though I should create something extremely comfortable and forgiving with my temporary extra weight: a knit dress! This is my equivalent of a pair of sweatpants, without sacrificing style and femininity.

The knit I chose has quite a lot of body and it’s not too stretchy, so it’s comfortable to wear, but it won’t highlight anything I might want to conceal in my midriff area, which is perfect. If you don’t like this print or these colours, Minerva has a HUGE choice of knits suitable for this type of garment, which you can find here.

For this dress, I went with one of my tried and true pattern, the Lady Skater dress by Kitschy Coo. I made this dress once before, so I knew that it was very fun and simple to sew. If you’re a beginner with knits, this is a great starting point, because the design is easy to fit but very flattering on any body type and the instructions are great, full of tips for sewing with this material.

Initially, I used the long sleeves, but they felt a bit overwhelming in this busy print, so I shortened them to elbow length, which is my favourite. I also shortened the bodice to hit me at my natural waist, but I’m afraid I went a little overboard, as now the dress is almost an empire waist. 

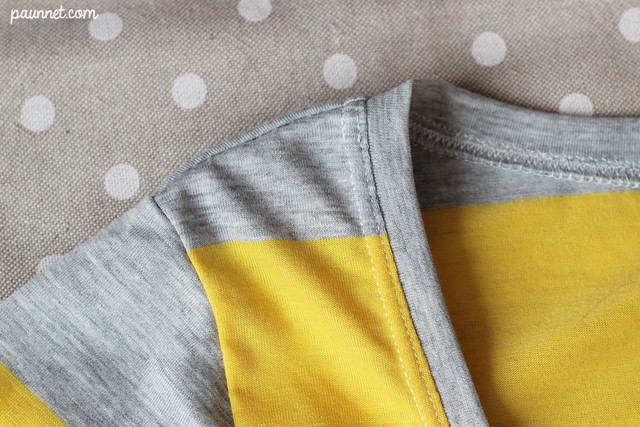
As far as the construction goes, I used black elastic to reinforce the shoulder line and the waist, a little technique that makes all the difference in the world in terms of durability of your garment. I also used my serger, but this dress is perfectly doable with just a regular sewing machine.
If you want to make this dress, there is a kit ready for you, containing all the necessary, as usual. It also includes ballpoint and twin needles to insure best results with your sewing machine! 


Thursday, January 9, 2014

January Featured Sponsor - Supercut

Today I'm happy to present you my featured sponsor of this month: Supercut!
Let's get to know more the owner, Marine, and what's behind her gorgeous fabric and haberdashery store. (By the way, she's having a sale!)


Hello! My name is Marine. I come from France and I am a regular home sewer. Not the best, not the worst either ;-) I learnt to sew by myself in 2007, when I was pregnant of my first baby. For that, I must thank the huge and reliable international sewing community which enabled me to learn from thousands of blog tutorials, each better than the other. I have always been very impressed by the quality of the blogs I was following. Some of you girls are really so impressive at creating clothes for your children, for you and decorating your houses!

The Supercut project started in early 2013. 
Our family moved to Italy (Bergamo, north Italy) in 2011. After some really good time looking after my two little ones, I felt it was time for me to get back to my professional life. The constraints of family life and the difficult Italian employment market, made this project quite impossible.

The idea of an online fabric and haberdashery started at the beginning of 2013 and quickly became the obvious choice: I saw that the Italian online fabrics and haberdashery market was, oddly enough, very poor... That's how I made up my own and very exciting professional project, which also allows me to look after my two kids!

And last but not least, I just love looking for and selling all these wonderful fabrics and notions!
I wanted to offer quality fabrics and notions created by the most fashioned brands and designers of the "hand-made with love" world: the beautiful fabrics from prestigious English Liberty of London, the chinese inspired style of French Petit pan, the happy universe of Linna Morata, the softness of France Duval-Stalla’s baptists and popelines, the originality of the dutch Kitsch Kitchen Mexican’s style, not forgetting the "oh-so-British touch" of notions tools of Merchant & Mills. To be stored at Supercut, scissors, threads and needles will need to show more quality than what they were just made for!

Thank you, Marine! 
If you're interested in sponsoring me, more details are here.

Monday, January 6, 2014

Deer&Doe Plantain t-shirt (free pattern)

Pattern: Plantain t-shirt by Deer and Doe
Size: size 38, graded up to a 40 at the waist
Alterations: for the striped version, the sleeve length is inbetween the short and the 3/4 length.

Fabric: a striped cotton jersey and an unidentified knit, both purchased locally.

Happy New Year, guys! I hope everyone is well and ready to resume regular life after the Holidays (I know I'm not).

Today I'm very happy to present to you Deer and Doe's latest fatigue: the Plantain t-shirt! Oh, and it's a free pattern, yay! I mean, who doesn't love a free pattern?

I love the story behind the creation of this pattern, simple but powerful: Eléonore "just" wanted to create the perfect t-shirt for her body shape, flattering but comfortable. You can read the whole thing here (yeah, the Deer and Doe blog is now in English too!).

I usually like my t-shirts a little more fitted at the waist, because I don't have a problem with my stomach area, but I must say this style feels a little more relaxed and forgiving, and I like it a lot.
The low neckline (but not too low) is extremely flattering on curvier ladies like myself.
For my first couple attempts at this pattern I went stash bustin'.
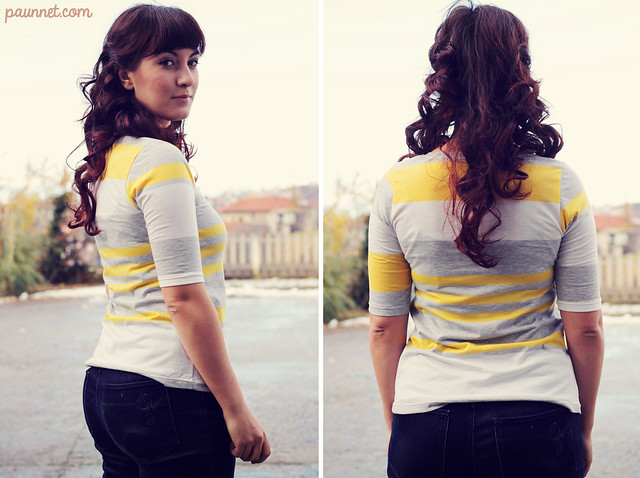
This striped cotton jersey was perfect for the job, but I had a very small piece of it, so my sleeves ended up mismatched. Did you notice before I told you? I don't mind the effect at all, in fact I think it's cute.

The only alteration I did was to lengthen the short sleeves (or shorten the 3/4 sleeves, as you prefer) to elbow length, which as I mentioned before, is the one I wear the most and find most flattering on me.
In this photo, it looks like I have a huge sway back adjustment to do, but it's really just a combination of the hem being caught in my jeans pockets and me standing more straight than usual for photos.

For my second attempt I used this mystery knit (I don't know the composition) which I'm not really sure why I bought. I was probably attracted by the bird print, but it's just too crazy for me. It will probably go to my mum or be worn as a pajama top.
Anyways, it served its purpose, which was to test the longer sleeves version... with elbow patches! Ah, those elbow patches... I want to add them to everything! I didn't follow the instructions and made them in a woven and it works fine. They're definitely easier to sew this way.

For construction, I used my serger and a twin needle, but this pattern is very beginner-friendly and includes tips for those who are unfamiliar with knits and might not have a serger.

I hope many of you are going to try this pattern, especially those who are still unfamiliar with Deer and Doe. I'm definitely going to sew many more of these and try a few variations as well!